Editing and Adjusting Individual Crops
How to adjust crop areas using AutoCropper
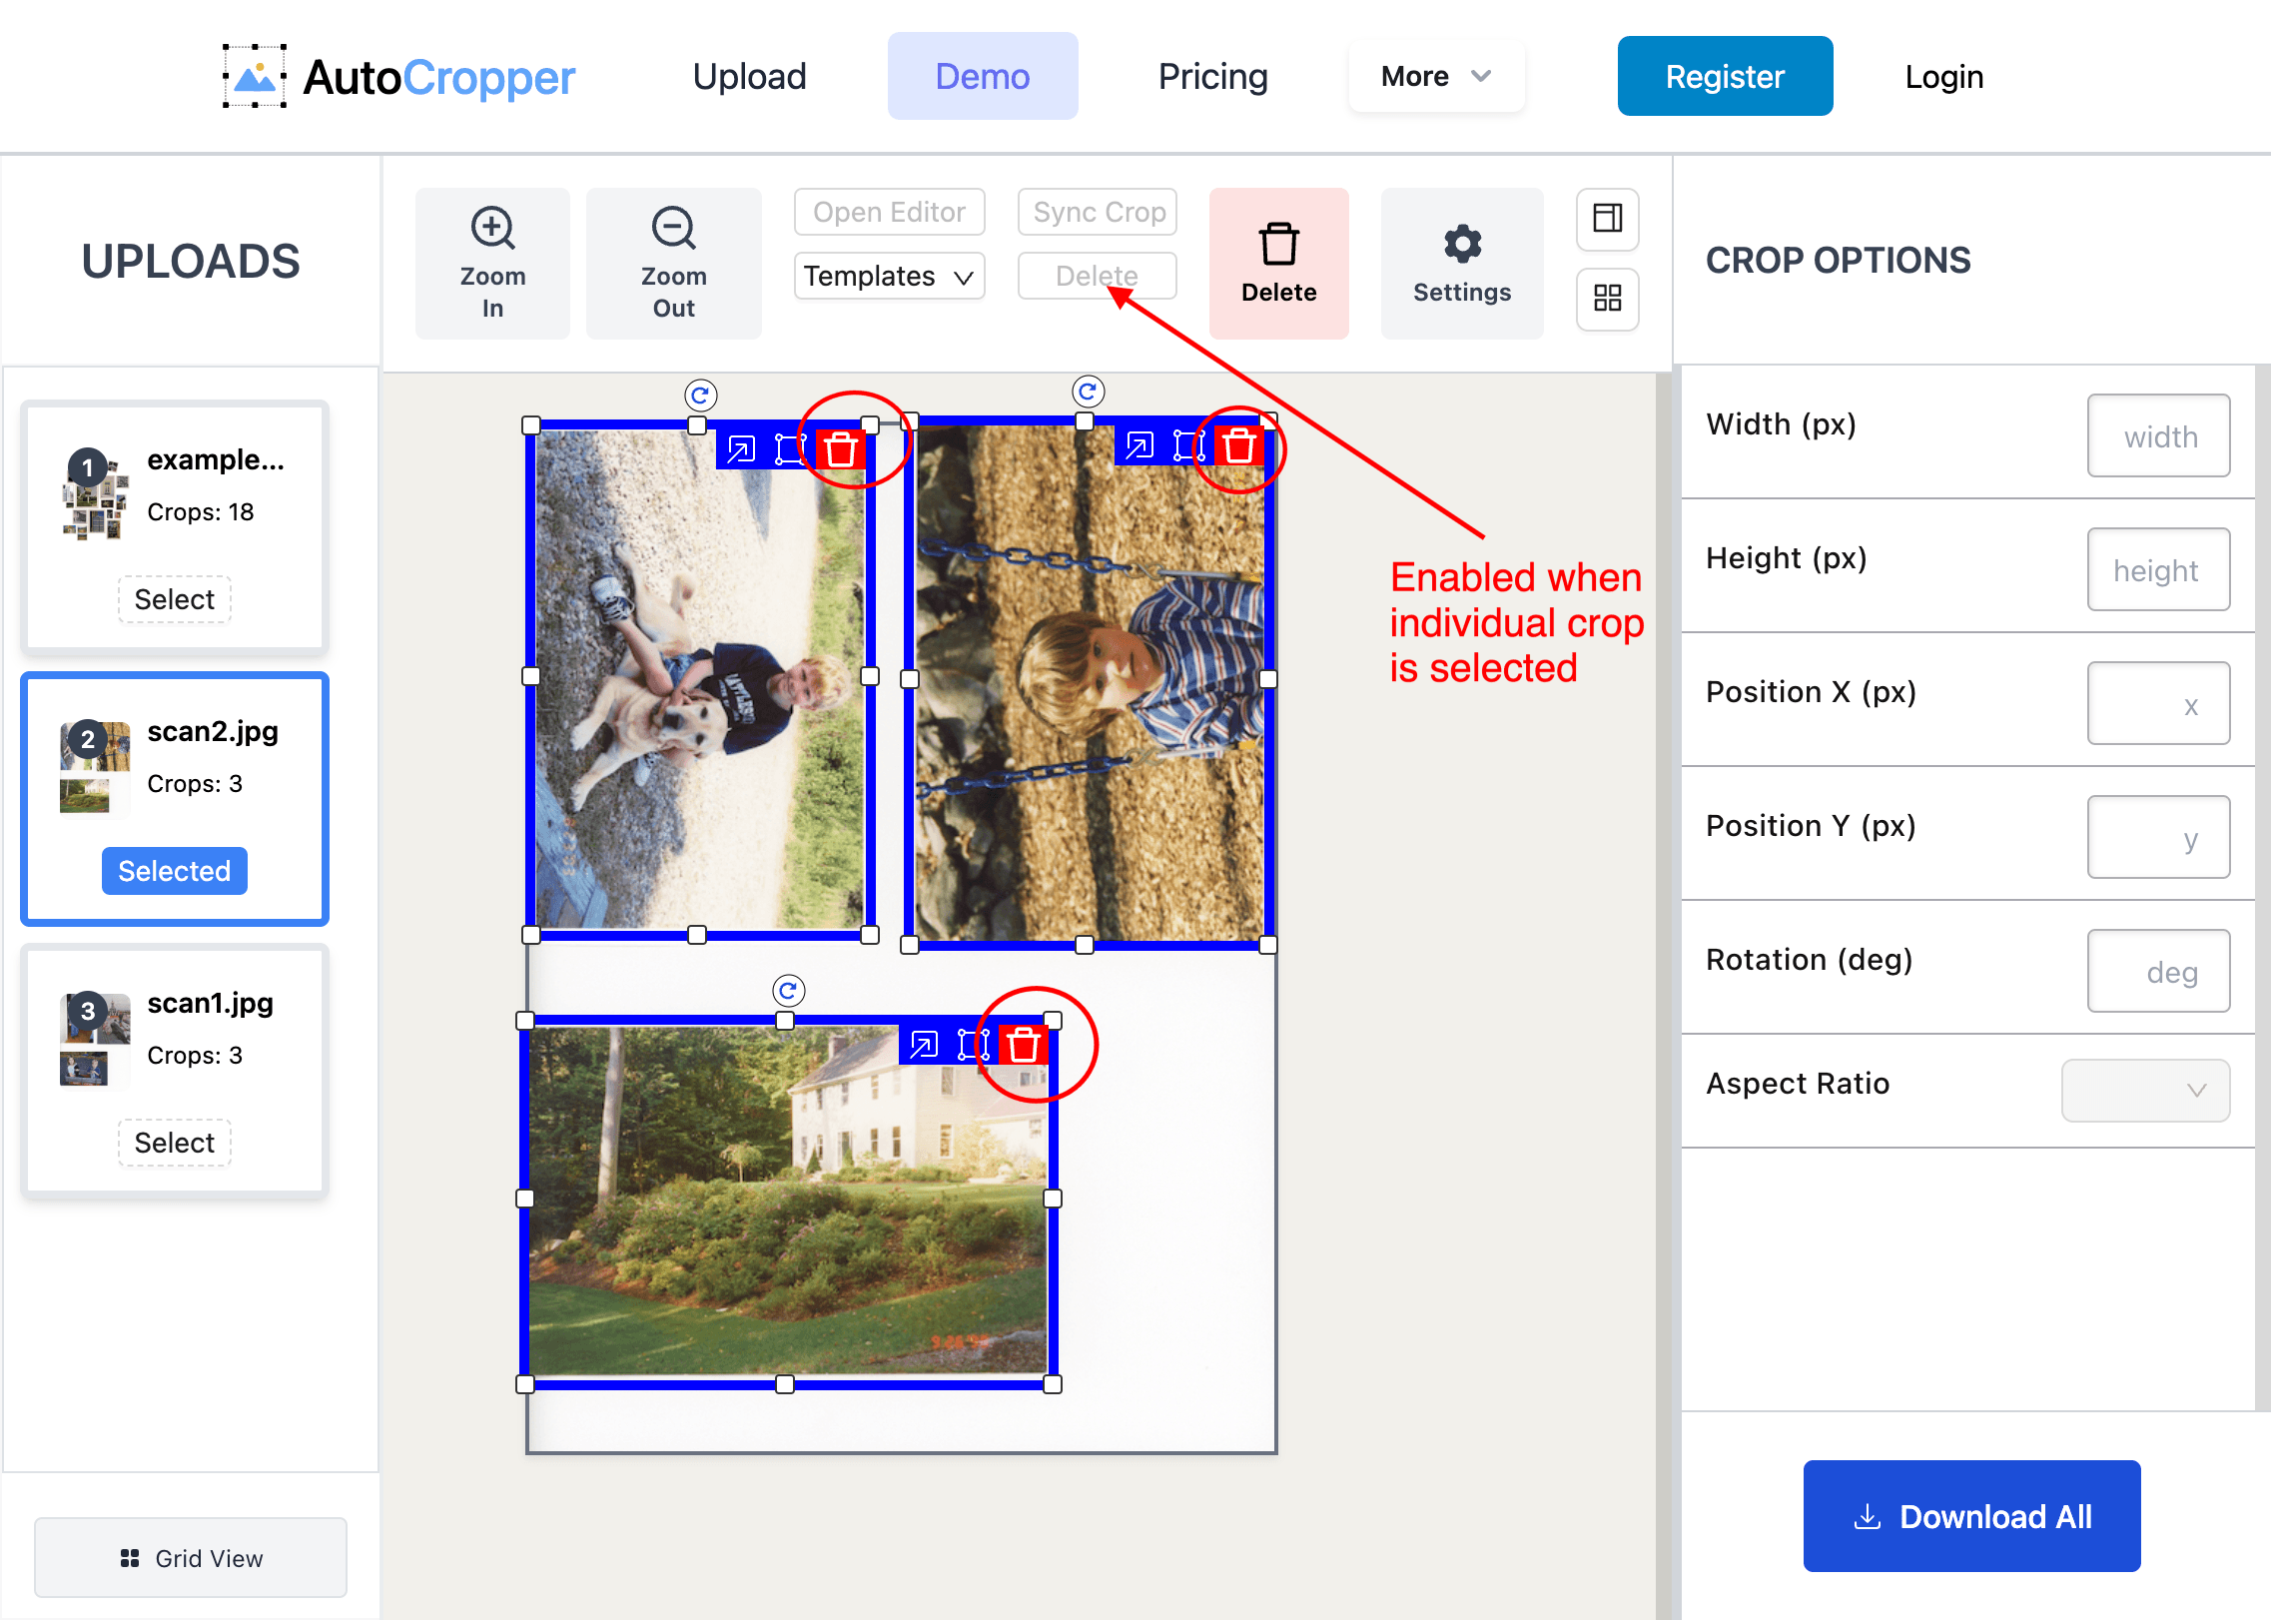
Each blue crop rectangle represents an individual area that will be cropped and exported into an individual image. AutoCropper should create these rectangles automatically, but you can also manually create and adjust them.
How-To:
Upload Files
Refer to the dedicated Documentation page to learn more about Uploading Files to AutoCropper. Accepted file types:
JPEG
PNG
TIFF
PDF (each page will be converted to JPEG)
Create a new crop
To manually create a new crop, click and drag anywhere on the canvas. While AutoCropper should automatically create the crop areas, you might need to manually define them at times. Here we manually define three crop areas:
Adjust a crop
To move the crop, simply click and drag:
Resize a crop
To adjust a crop's dimensions, hover over its edge or any corner until your mouse changes. From any corner, you can click and drag to expand it.
Delete a crop
To delete a crop, click the red bin icon located on the top right of any individual crop:
You will be prompted to confirm deletion.
Batch delete all crops
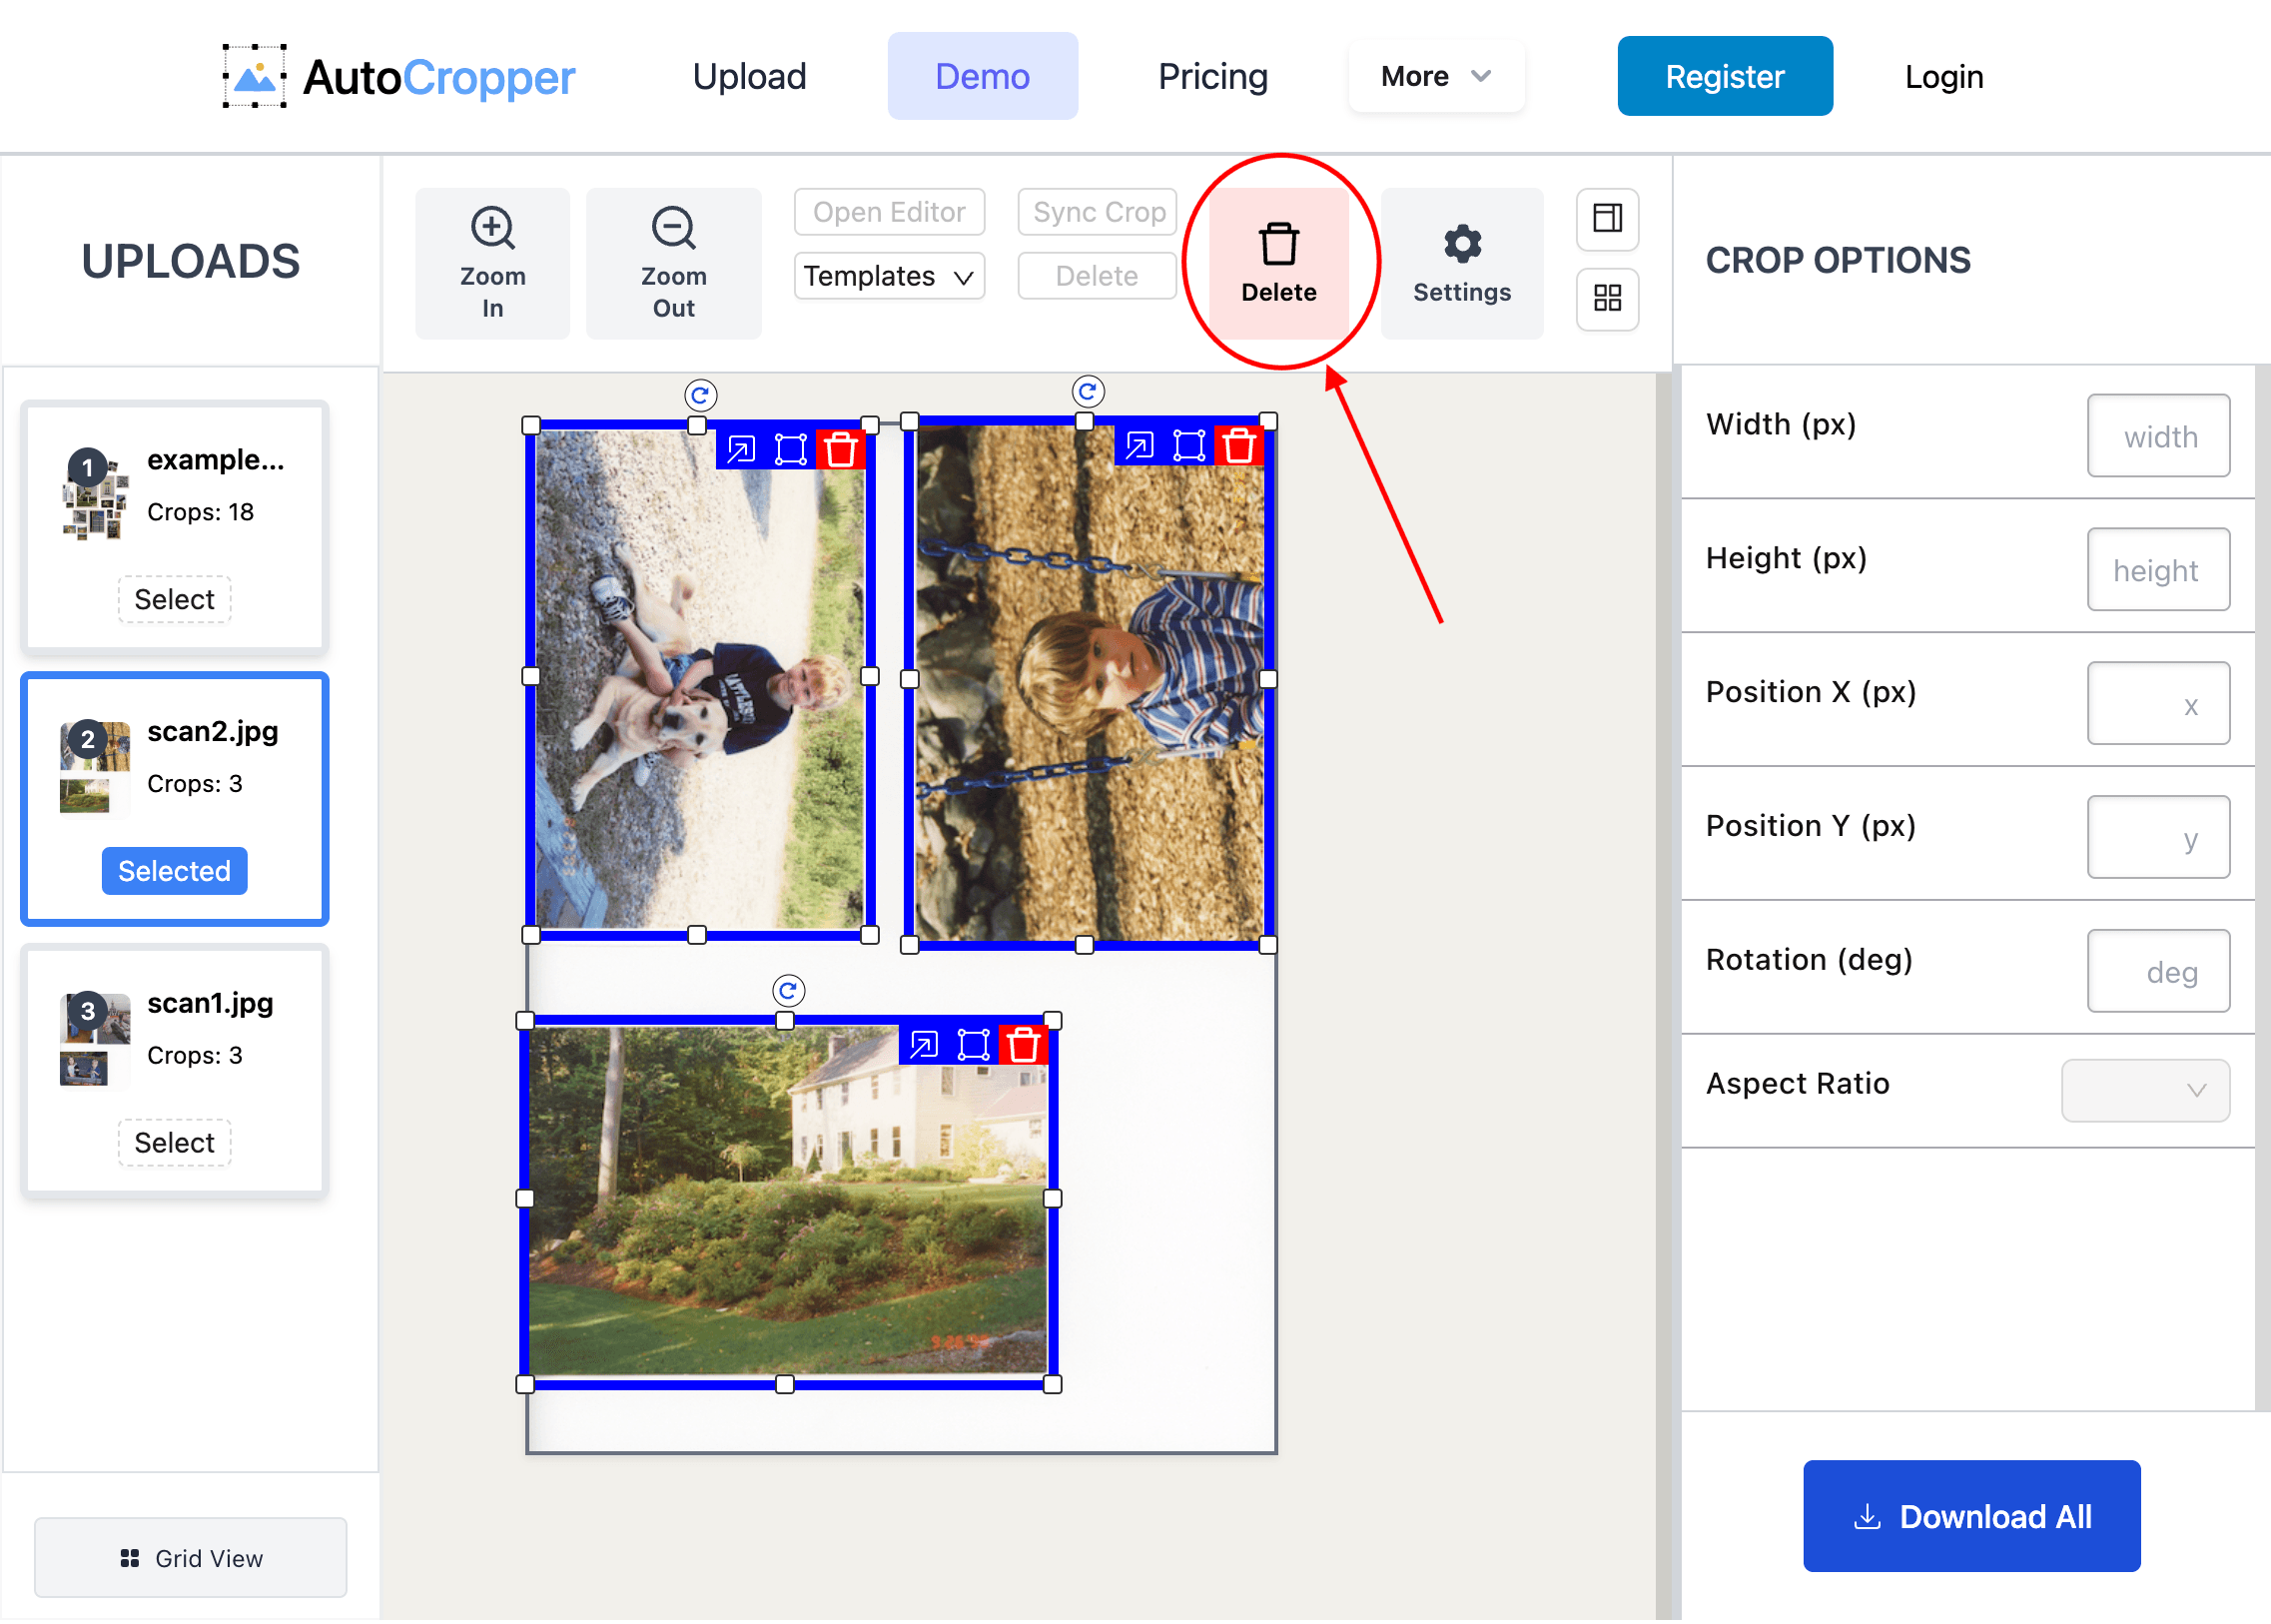
To delete all the crop areas, first ensure that no crop is selected (if a crop is selected, the red delete button will prompt for deletion of that crop). Click the large red Delete button in the top menu:
You will be prompted to either delete all the crops on all uploads, or just the crops on the currently selected image:
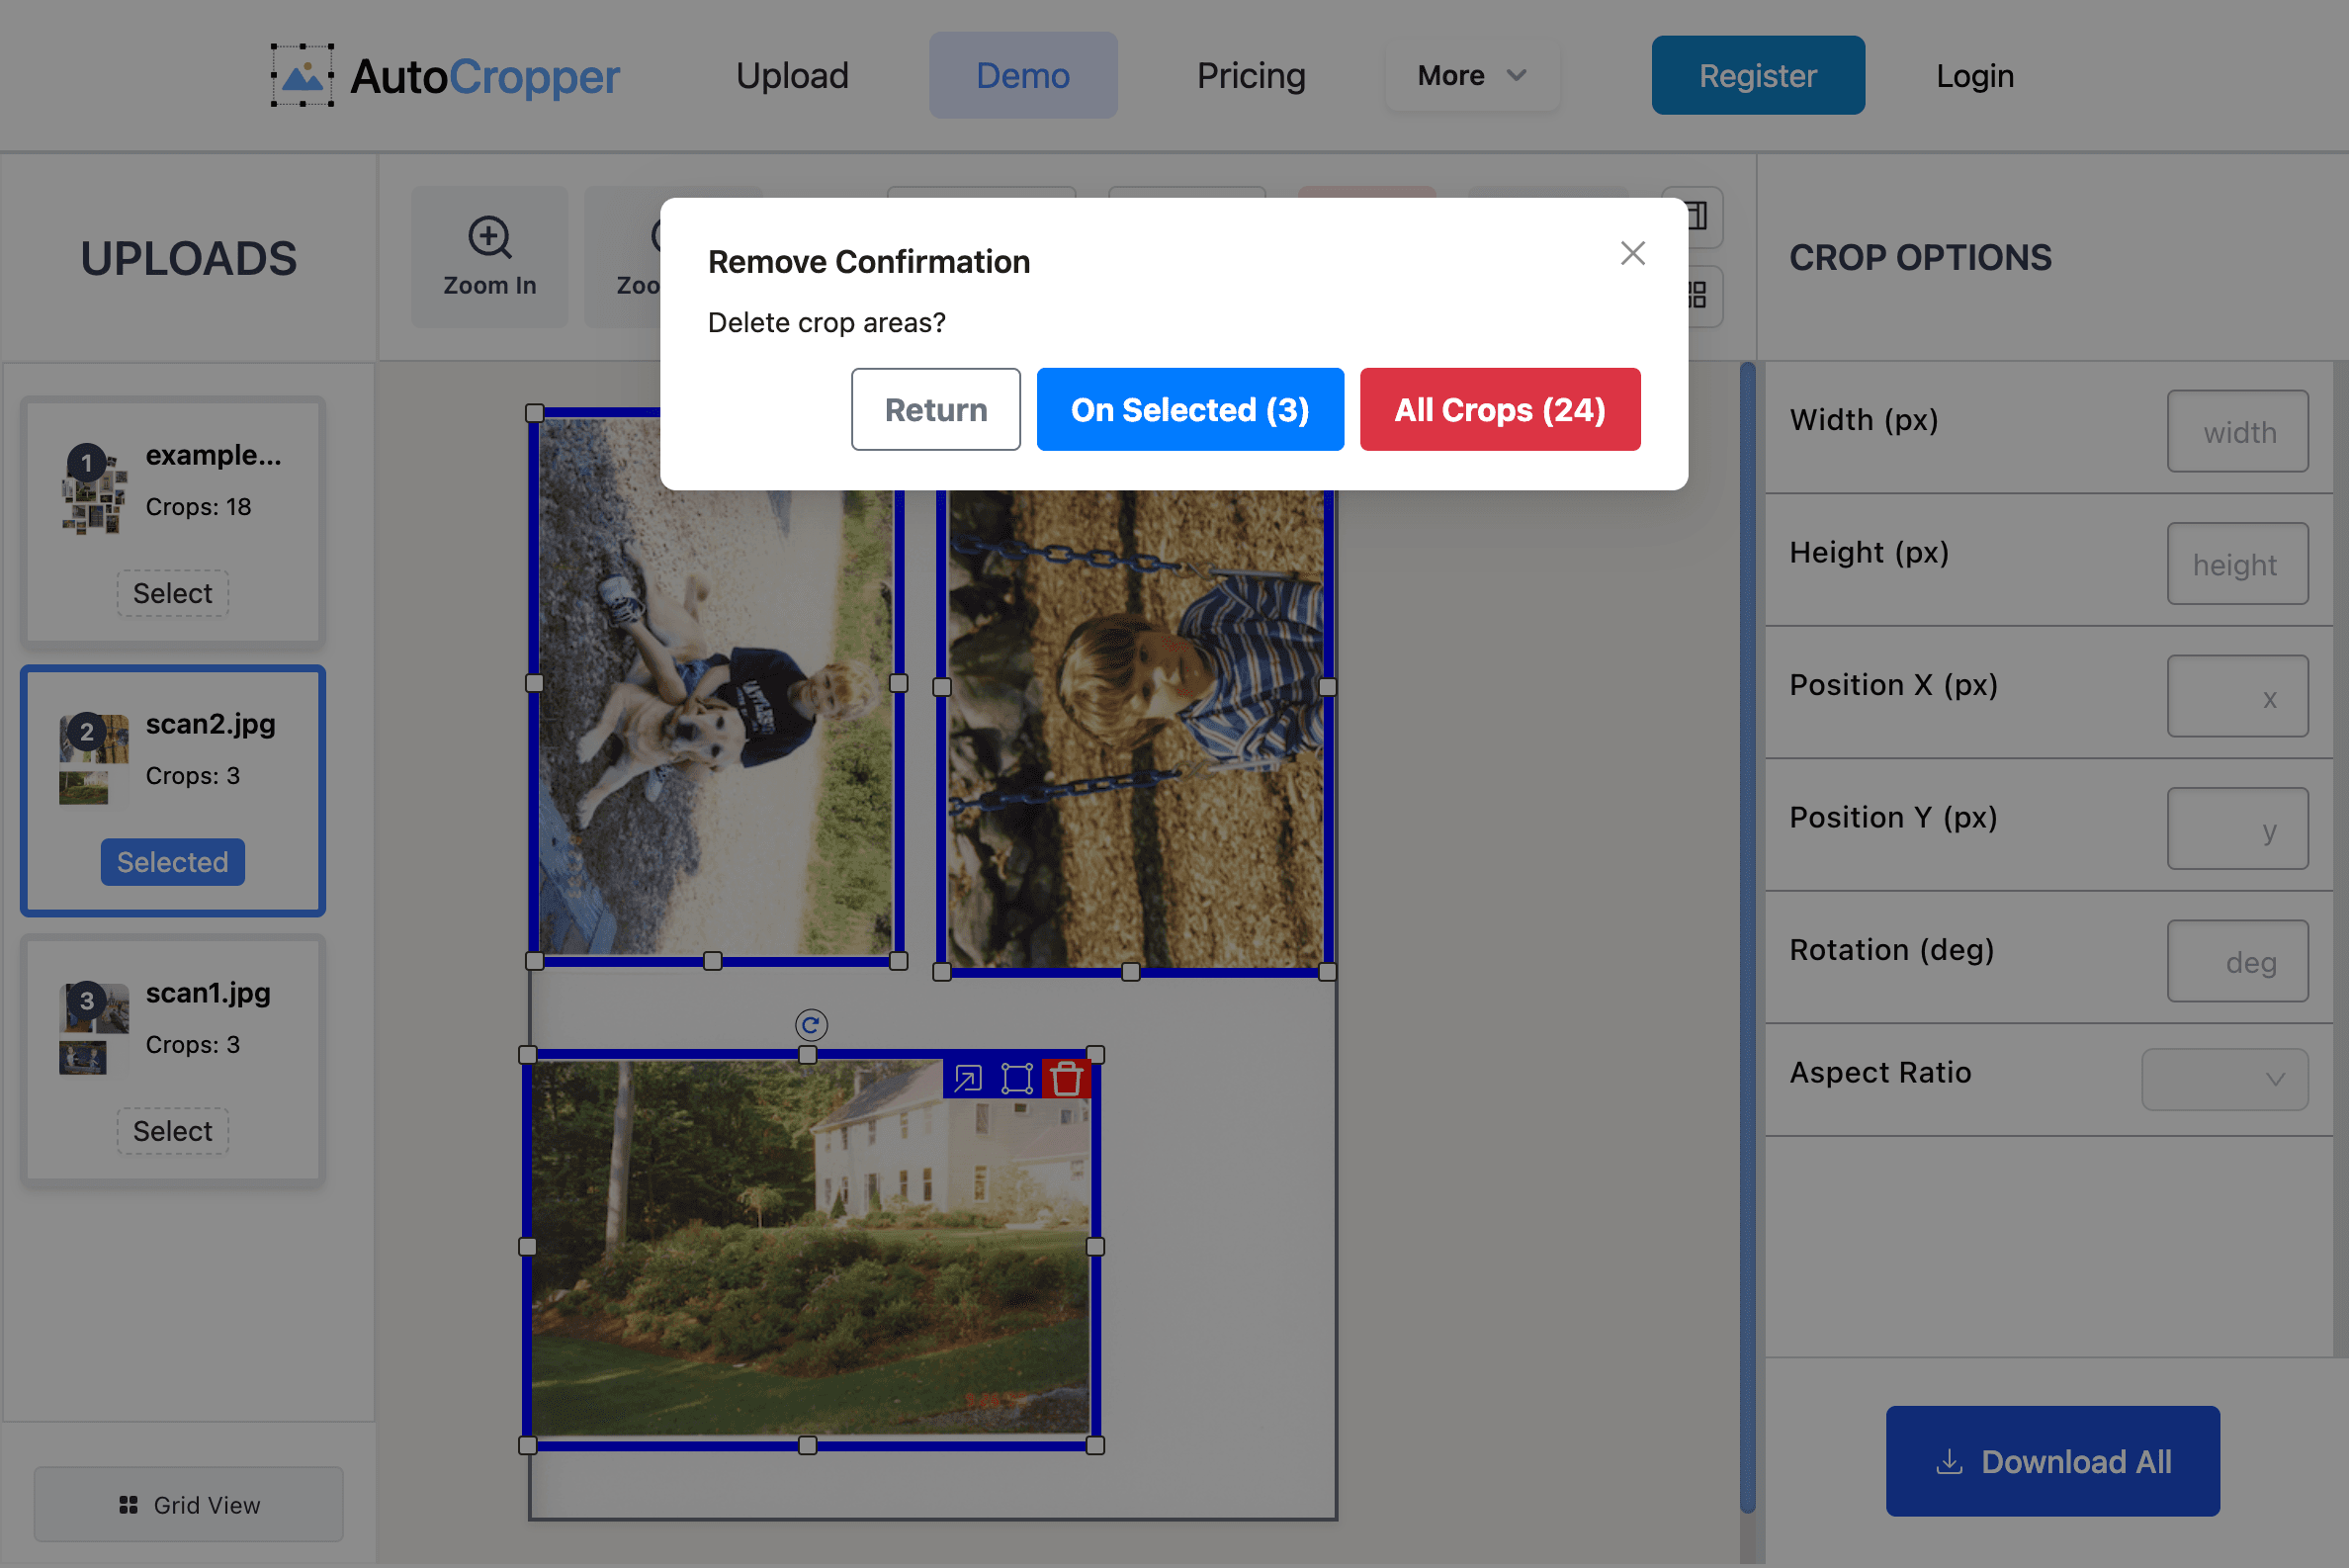
Clicking "All Crops" will delete the crops on the currently selected image and all the other uploads.
Clicking "On Selected" will only delete the three crops on the currently selected image.
Advanced Editor
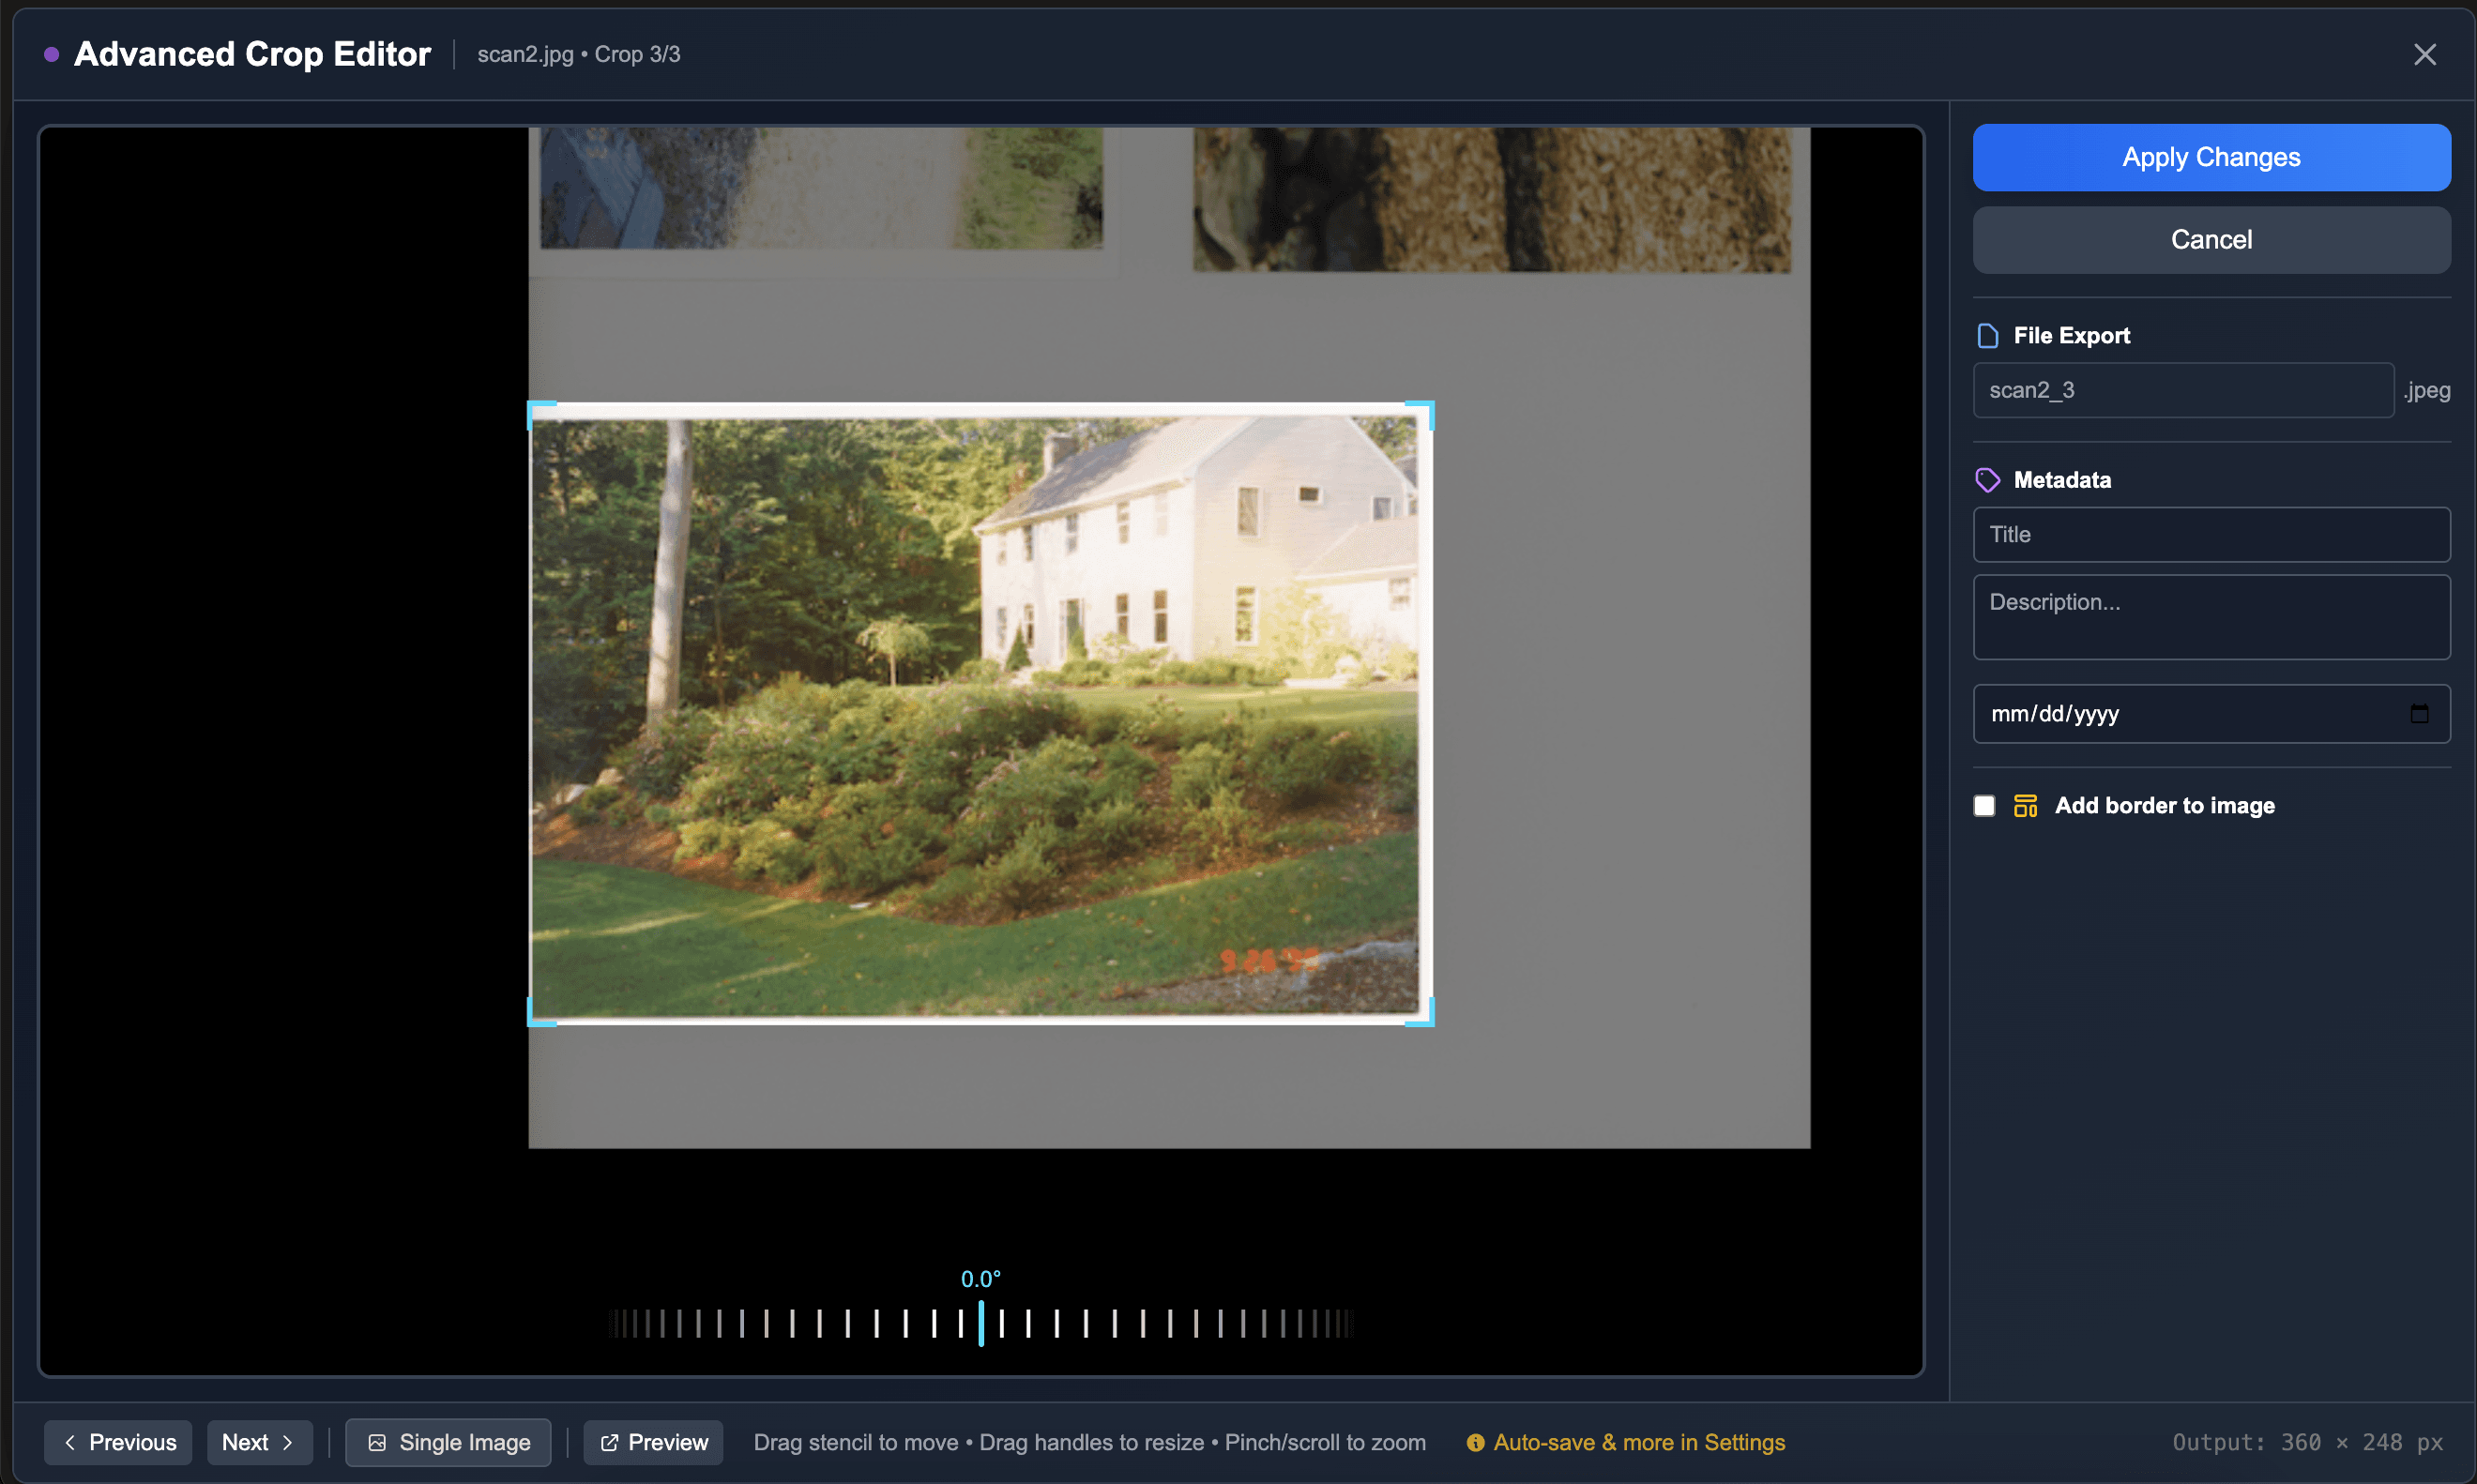
The Advanced Editor allows you to more precisely adjust the crop dimensions, adjust the crop size and adjust the crop rotation to straighten it.
Personally, I think it is best to use the simple editor and store your crops in Google Photos, which has powerful tools that will likely accomplish your desired result automatically, and more precisely. For example, if there is any trailing whitespace around the edges of your crop, Google Photos will often suggest an edit.
Opening the Advanced Editor
You can open the advanced editor by:
Double clicking any crop
Clicking the Adjust button on any crop (to the left of the red delete button)
Selecting a crop, and clicking the "Open Editor" button in the top menu
The advanced editor will open. If you make any adjustments by accident, you can reset to the original dimensions. Be sure to click Save Changes when done.
Adjusting the Crop Area
To adjust an individual crop's dimensions via the Advanced Editor, click and drag on any edge:
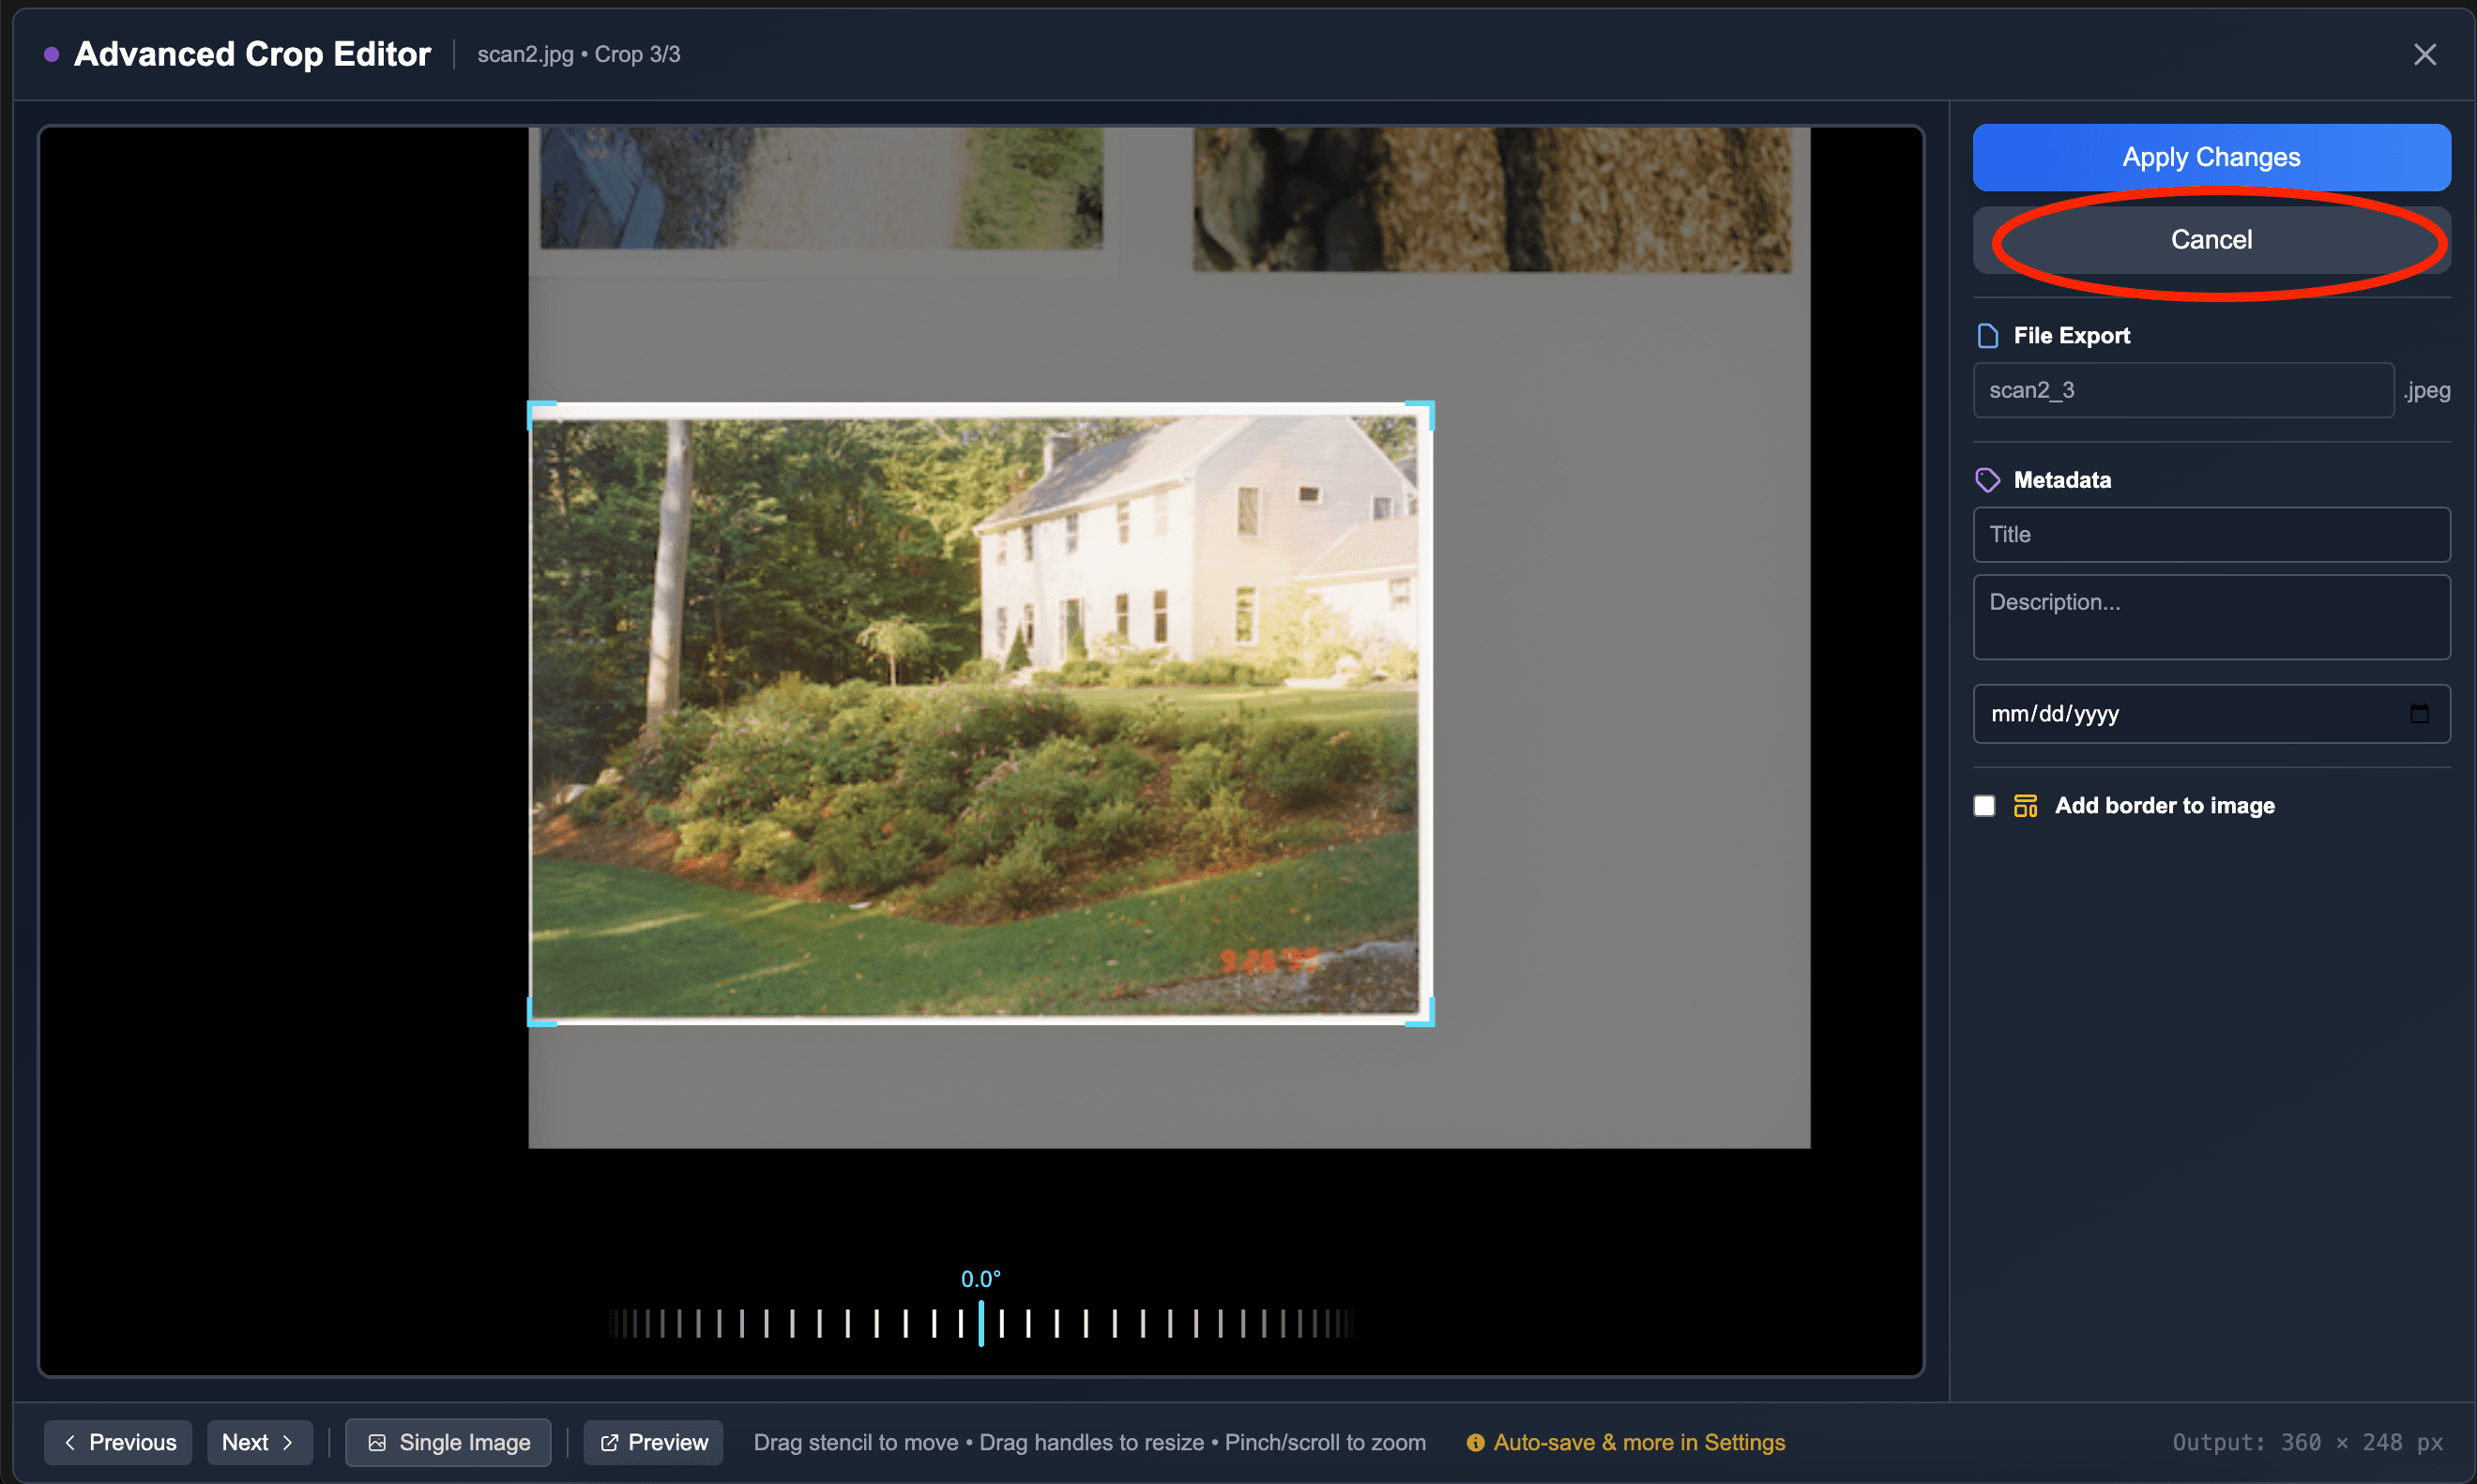
Discard Changes button
The Discard Changes Button will revert any changes made in the Advanced Editor. It will reset the Advanced Editor's crop area to its original dimensions.
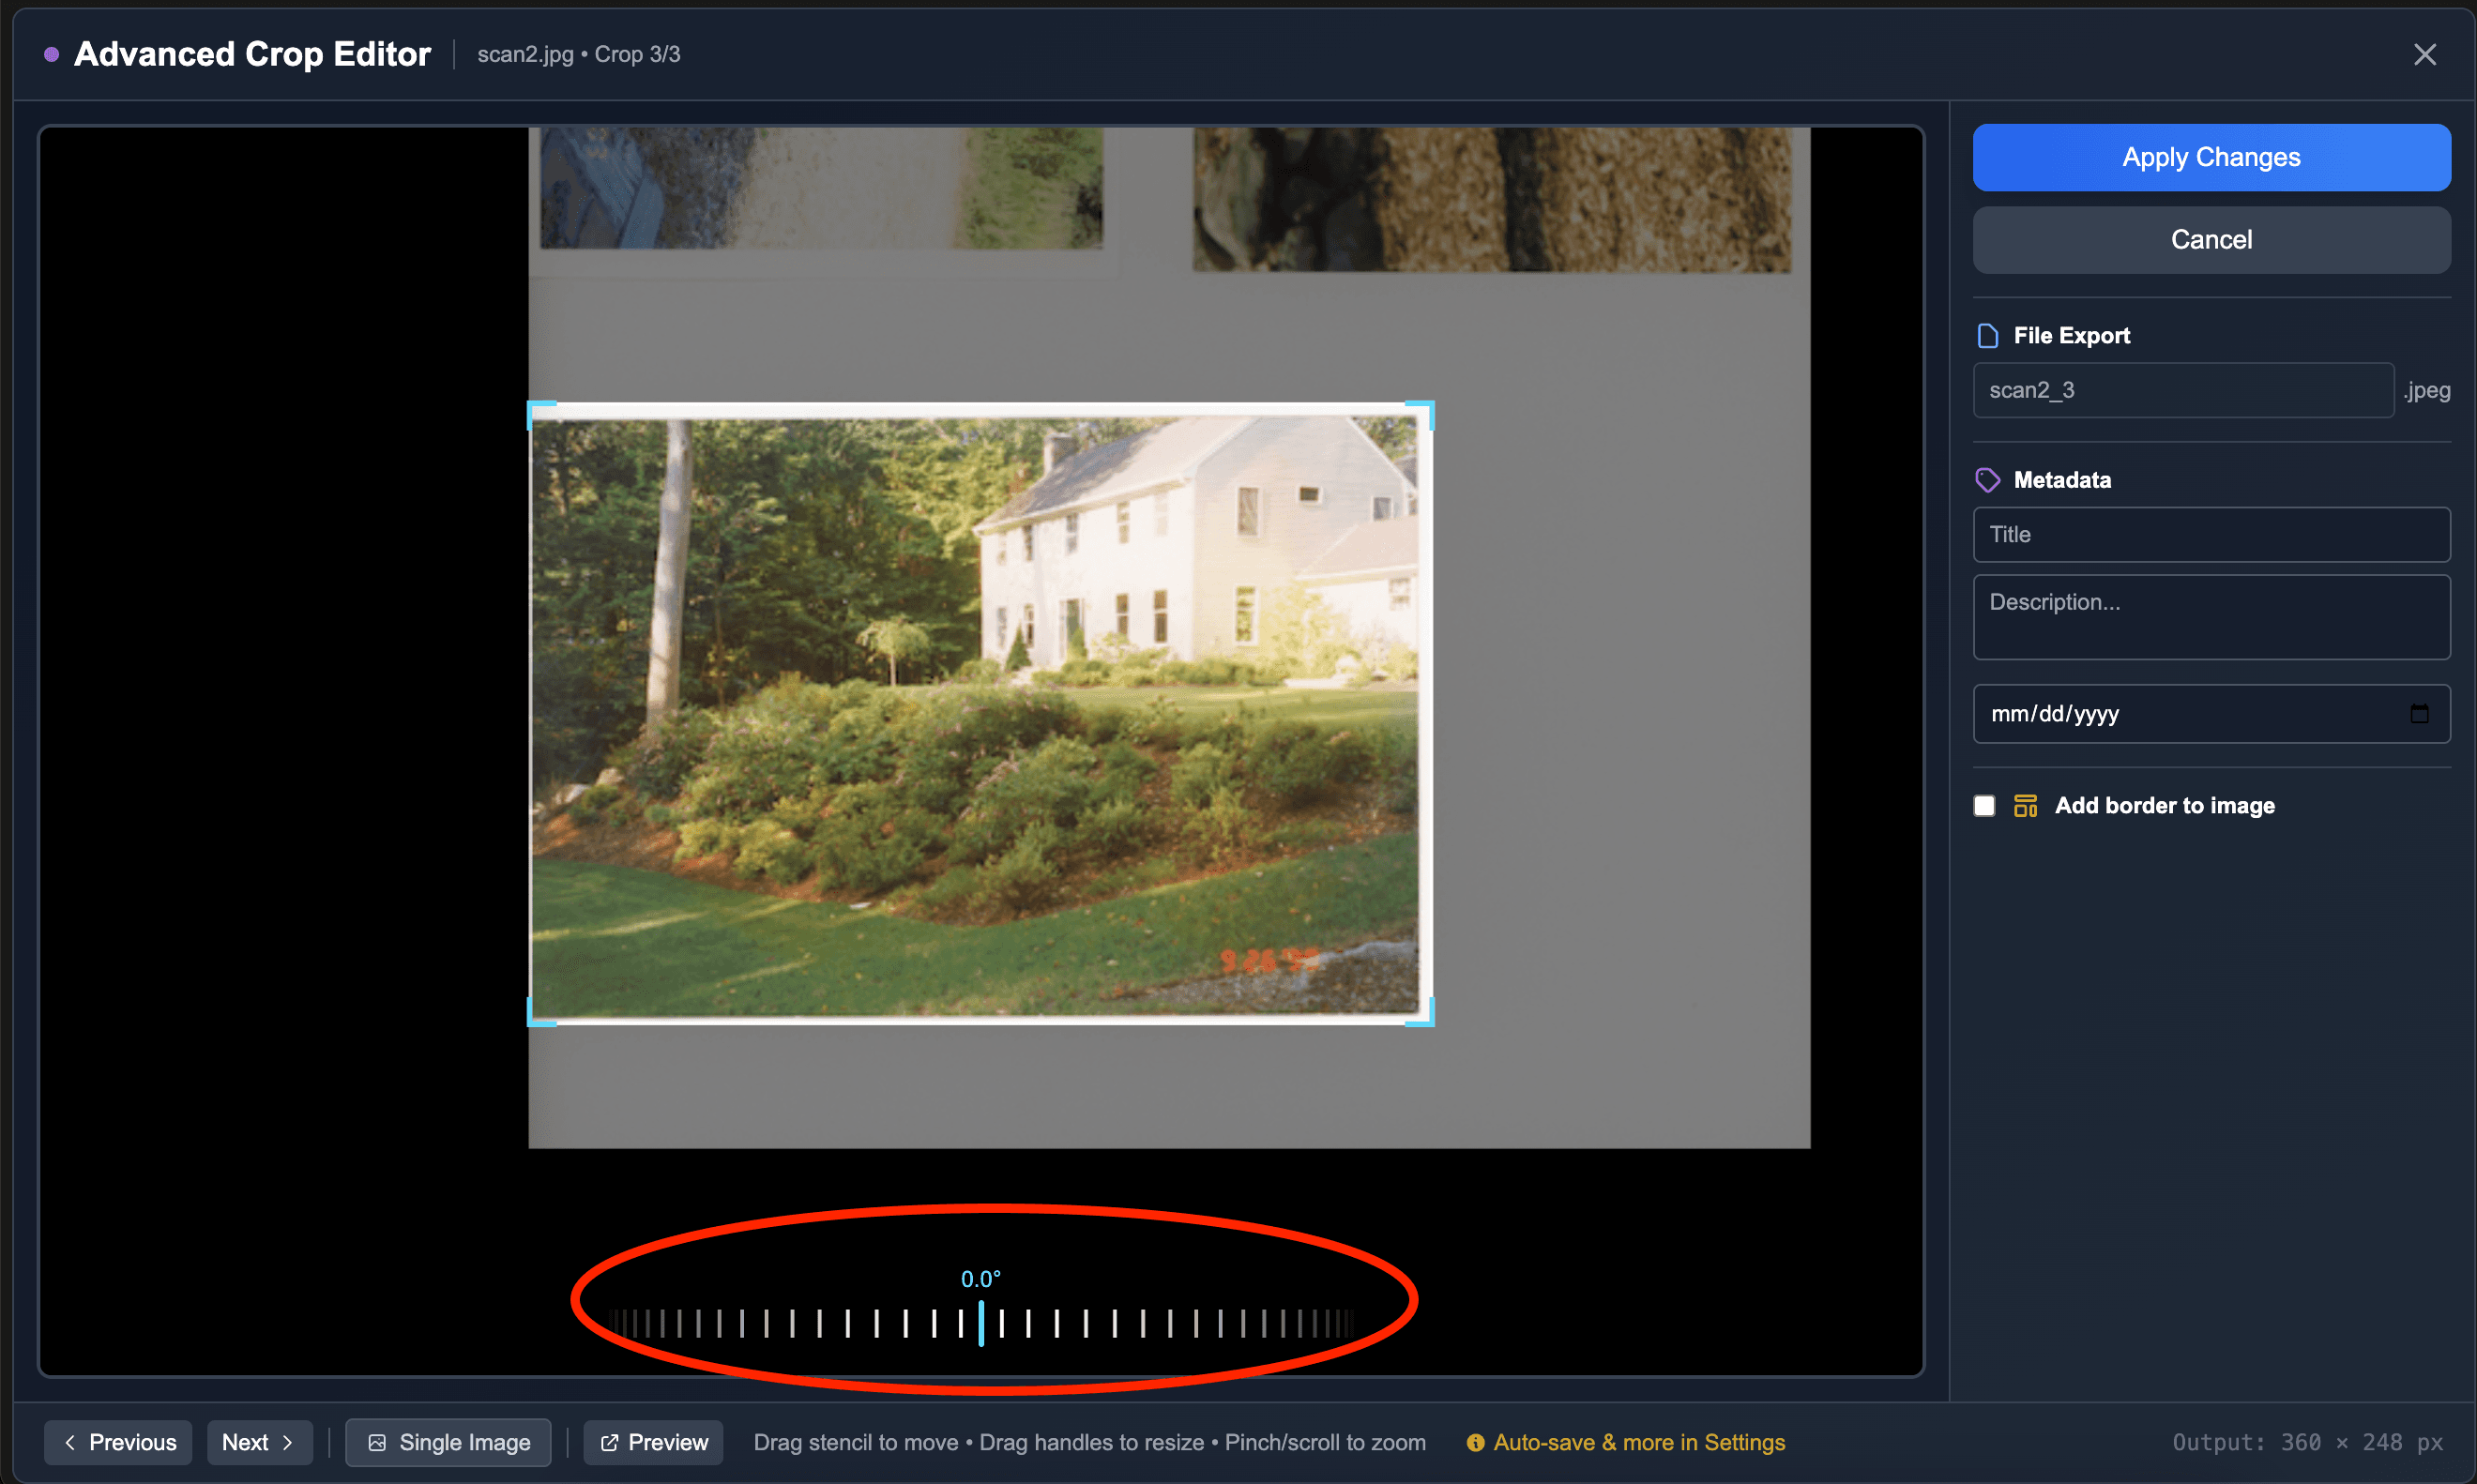
Rotating and straightening the crop
In the advanced editor, you can also apply left and right rotations to correct and straighten your crop.
The rotation adjustment is located at the bottom of the advanced editor:
Saving your adjustments
To save your adjustments made in the Advanced Editor - crop location, dimensions, or rotation angle, click the "Save Changes" button:

You will notice the crops outlined in blue on the parent images will update to reflect your adjustments.
Exiting the Advanced Editor
To exit the Advanced Editor, either save your changes by clicking the Save Changes button, click anywhere outside of the modal, hit the Escape key on your keyboard, or click the Close button.