AutoCropper splits scanned pages into separate photos. You upload one scan or a whole batch, it finds every photo on each page, and you export them all as separate files. No account is needed to start, and nothing has to be installed: it runs in your browser. This page covers the ways to upload, the file types it accepts, how PDFs and other formats are handled, the free plan's limits, and what happens to your files.
Ways to upload#
Go to the crop page and either click Select Files to Upload or drag files onto the card. Clicking anywhere inside the dashed box opens the file picker too, and the Upload scans button in the site's top bar does the same on that page. You can also drop scans onto the home page, whose Choose Files box sends them straight to the crop page.
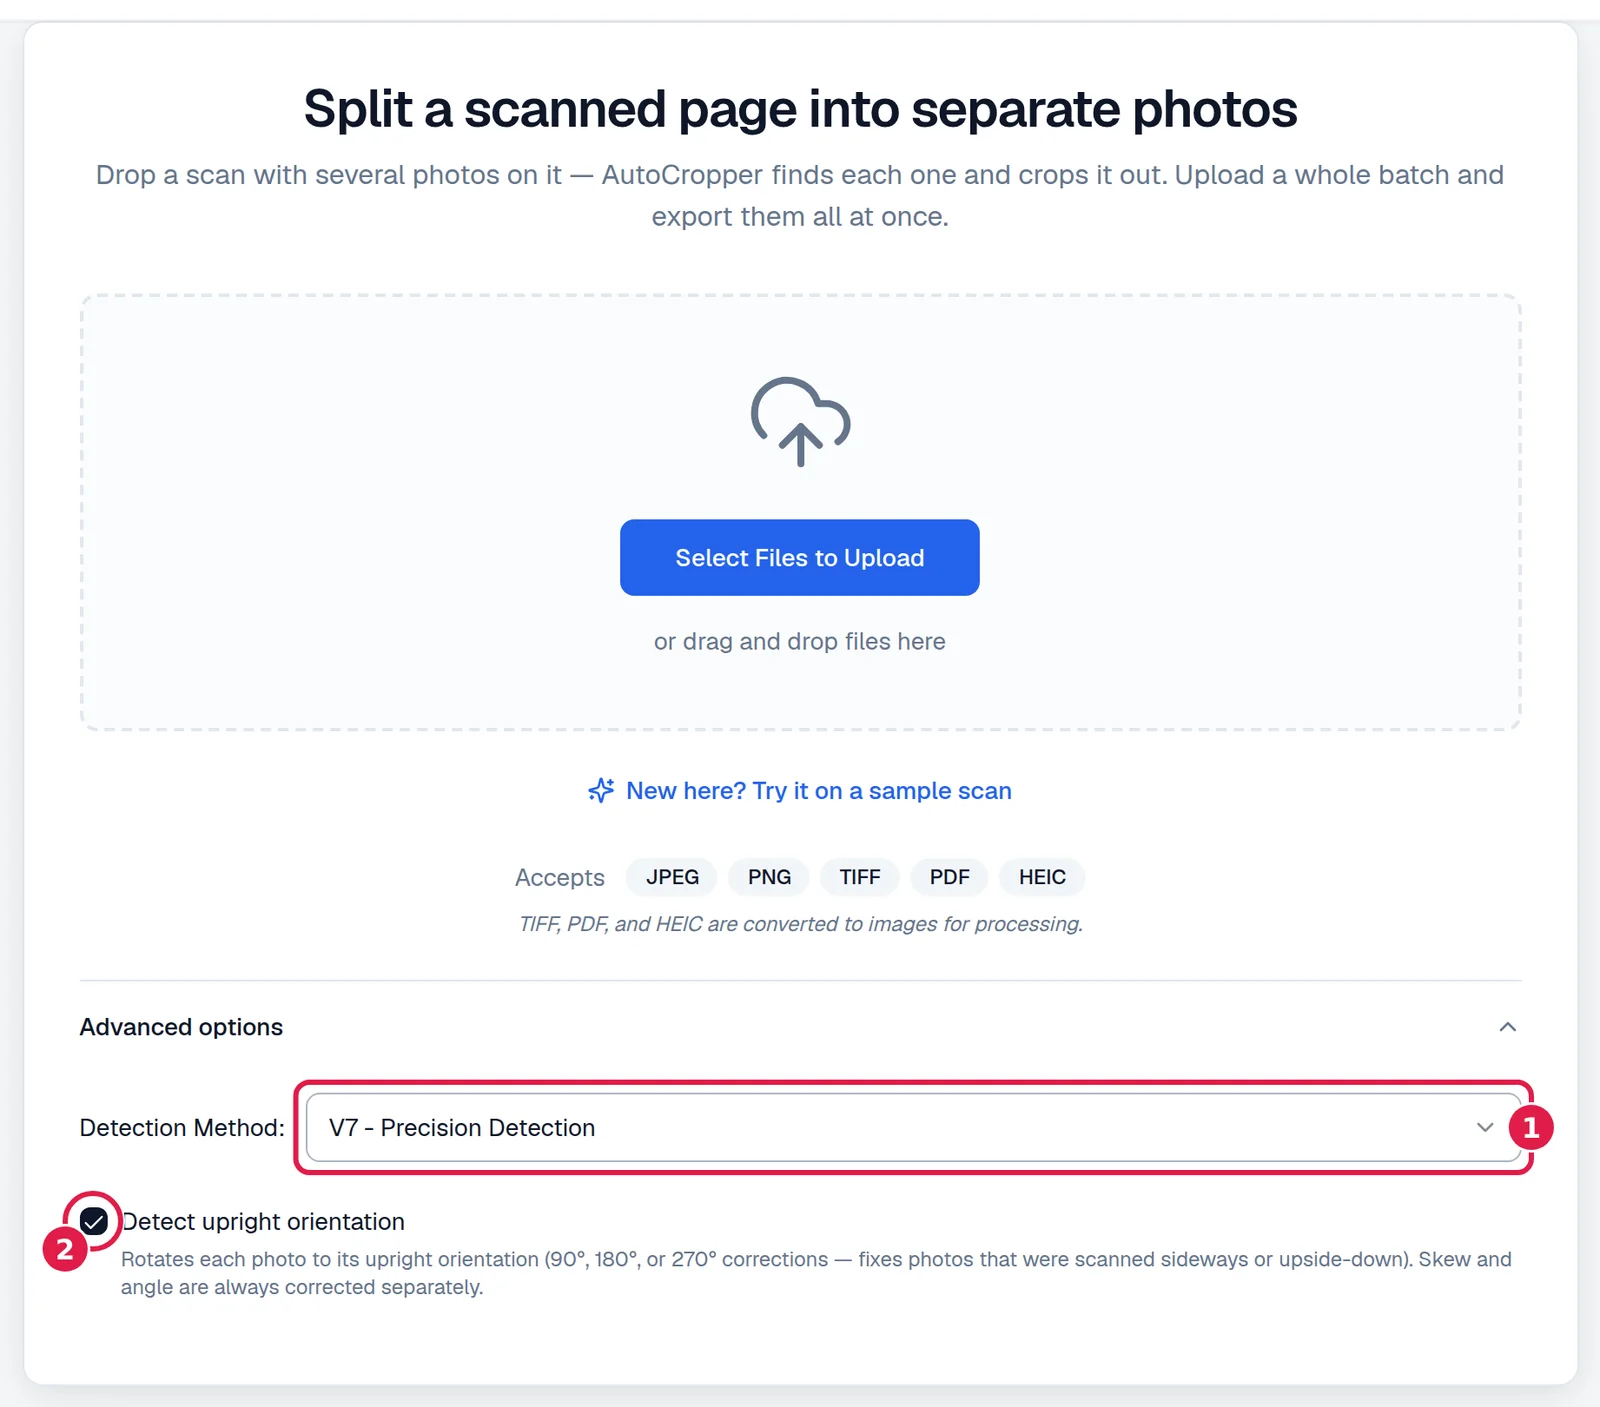
- Detection Method. How photos are found. V7 is recommended and is the default for new visitors; see detection methods.
- Detect upright orientation. Turns photos scanned sideways or upside down the right way up. On by default.
To pick several files in the file picker, hold Cmd (Mac) or Ctrl (Windows) and click each one, or click the first and Shift+click the last to take a range. Dragging a group of files from a folder works the same way.
No scans to hand? New here? Try it on a sample scan opens the demo, the full editor loaded with three sample scans.
File types#
| Format | What happens |
|---|---|
| JPEG, PNG | Used as they are. |
| TIFF | Converted in your browser. Only the first page of a multi-page TIFF is used. 8-bit and 16-bit, compressed or not, from scanners and Lightroom. |
| Every page becomes its own scan, named after the file and the page: album.pdf gives album_page_1.jpg, album_page_2.jpg and so on. | |
| HEIC, HEIF | iPhone photos. Converted in your browser; the main image is used. |
Other formats, such as GIF, WebP or camera RAW files, are not accepted. If a selection mixes accepted and other files, AutoCropper offers to upload the valid ones and skip the rest.
Converting a TIFF, PDF or HEIC takes a few seconds per file. The files that need no conversion are not held up: they appear and get their crops while the others convert.
The free plan#
You can use AutoCropper without paying, with three limits:
| Limit | Free plan |
|---|---|
| Files per upload | 3 |
| Images per 24 hours | 5, where every page of a PDF counts as one image |
| Pages per PDF | 5 |
The daily allowance is a rolling 24 hours. Once a batch is loaded, the bar at the top of the page shows how many free scans you have left today, with a Go unlimited link.
When a selection goes over a limit, AutoCropper says which limit and, where it can, offers to upload the part that fits.
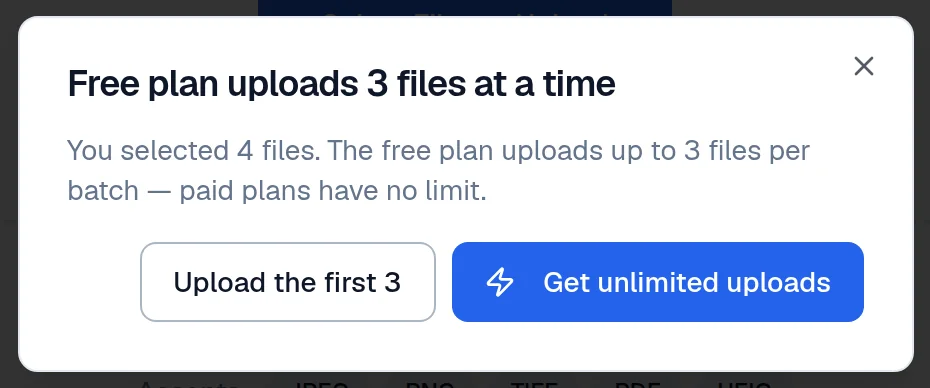
The other messages read Free plan supports PDFs up to 5 pages, with an offer to upload the other files, and You've used your free images for today or Daily free limit reached, which reset within 24 hours. Paid plans have no file, page or daily limit; see pricing. A paid batch of 25 files or more shows a short note before it starts, which you can turn off.
While your scans load#
From the moment you drop your files, the workspace opens with a place for every scan, in the order you selected them.
- Each scan's place, and its row in the scan list, says Preparing, Converting (with the page, for a PDF) or Detecting photos, then shows the scan with its crops and a count such as 18 crops, or No photos found.
- The Export button at the bottom right fills up as scans finish, with the count, for example Finding photos 12 / 24, then turns into Export when everything is ready. You can start editing the first scans before the last ones are done.
- The workspace opens on the first scan in your selection, whichever finishes first.
- Two files with the same name, from two camera folders for example, are kept apart: the second becomes DSC_0207 (2).jpg.
If a file cannot be used, its place says why, for example Couldn't convert, Too large to convert, Couldn't read file or Detection failed, and the rest of the batch carries on. A very large TIFF that fails with Too large to convert usually works on its own with other heavy apps closed, or exported from your scanning software as an 8-bit TIFF, which is half the size. When no photos are found on a scan, draw its crops by hand: drag on the scan.
What leaves your computer#
Your full-resolution files stay in your browser. Converting, cropping and exporting all happen on your computer, and the exported photos are cut from your original files. To find the photos, AutoCropper sends a small copy of each scan, at most 750 pixels on its longest side, to its detection service. The privacy policy has the details.
Because the exported photos are cut from the files on your computer, keep them where they are until you have exported: a file moved, renamed or edited after uploading cannot be read again, and its photos fail at export.
More scans after a batch#
A batch is one upload. After you export, Crop more scans, on the export receipt or in the top bar, clears the workspace for the next batch. Before you have exported, leaving the page asks you to confirm, because the crops would be lost.
On a phone#
The same upload card works on phones and tablets, and the picker can choose from your photo library. See the user interface for how the editor is laid out.
Questions#
Do I need an account?#
No. You can upload, crop and export without signing up. An account is needed for a paid plan.
Can I upload a whole folder of scans?#
Yes, on a paid plan: select every file in the folder in the picker, or drag them all onto the card. The free plan takes three files at a time.
Is there a file size limit?#
There is no fixed limit. Very large TIFFs, hundreds of megabytes, can run out of room in the browser; closing other tabs or exporting an 8-bit TIFF usually fixes it.