Exporting crops from AutoCropper
Pad every crop to 4:5, 5:7, 1:1, or a custom aspect ratio, then bulk-download the batch as a ZIP. Built for scrapbook, print, and social-media exports in AutoCropper.
AutoCropper exports your crops through the Export builder: a live-preview canvas on the left, a stack of controls on the right. You preview each crop exactly as it'll be written to disk, then download everything in scope as one ZIP. This page covers every control in the builder and a few of the workflows I built it around: scrapbook digitization, trading-card archiving, social-media batches, transparent PNGs, and print prep.
If you're new to the app, start with Uploading scans to AutoCropper and Editing and Adjusting Individual Crops. This page assumes you already have crops on your scans and you're ready to download.
Opening the Export builder
Click the Export button on the bottom right corner of the main dashboard. This replaces the old one-click download, which always exported at natural dimensions with no padding or transparency options. Every export now goes through this modal.
The preview canvas
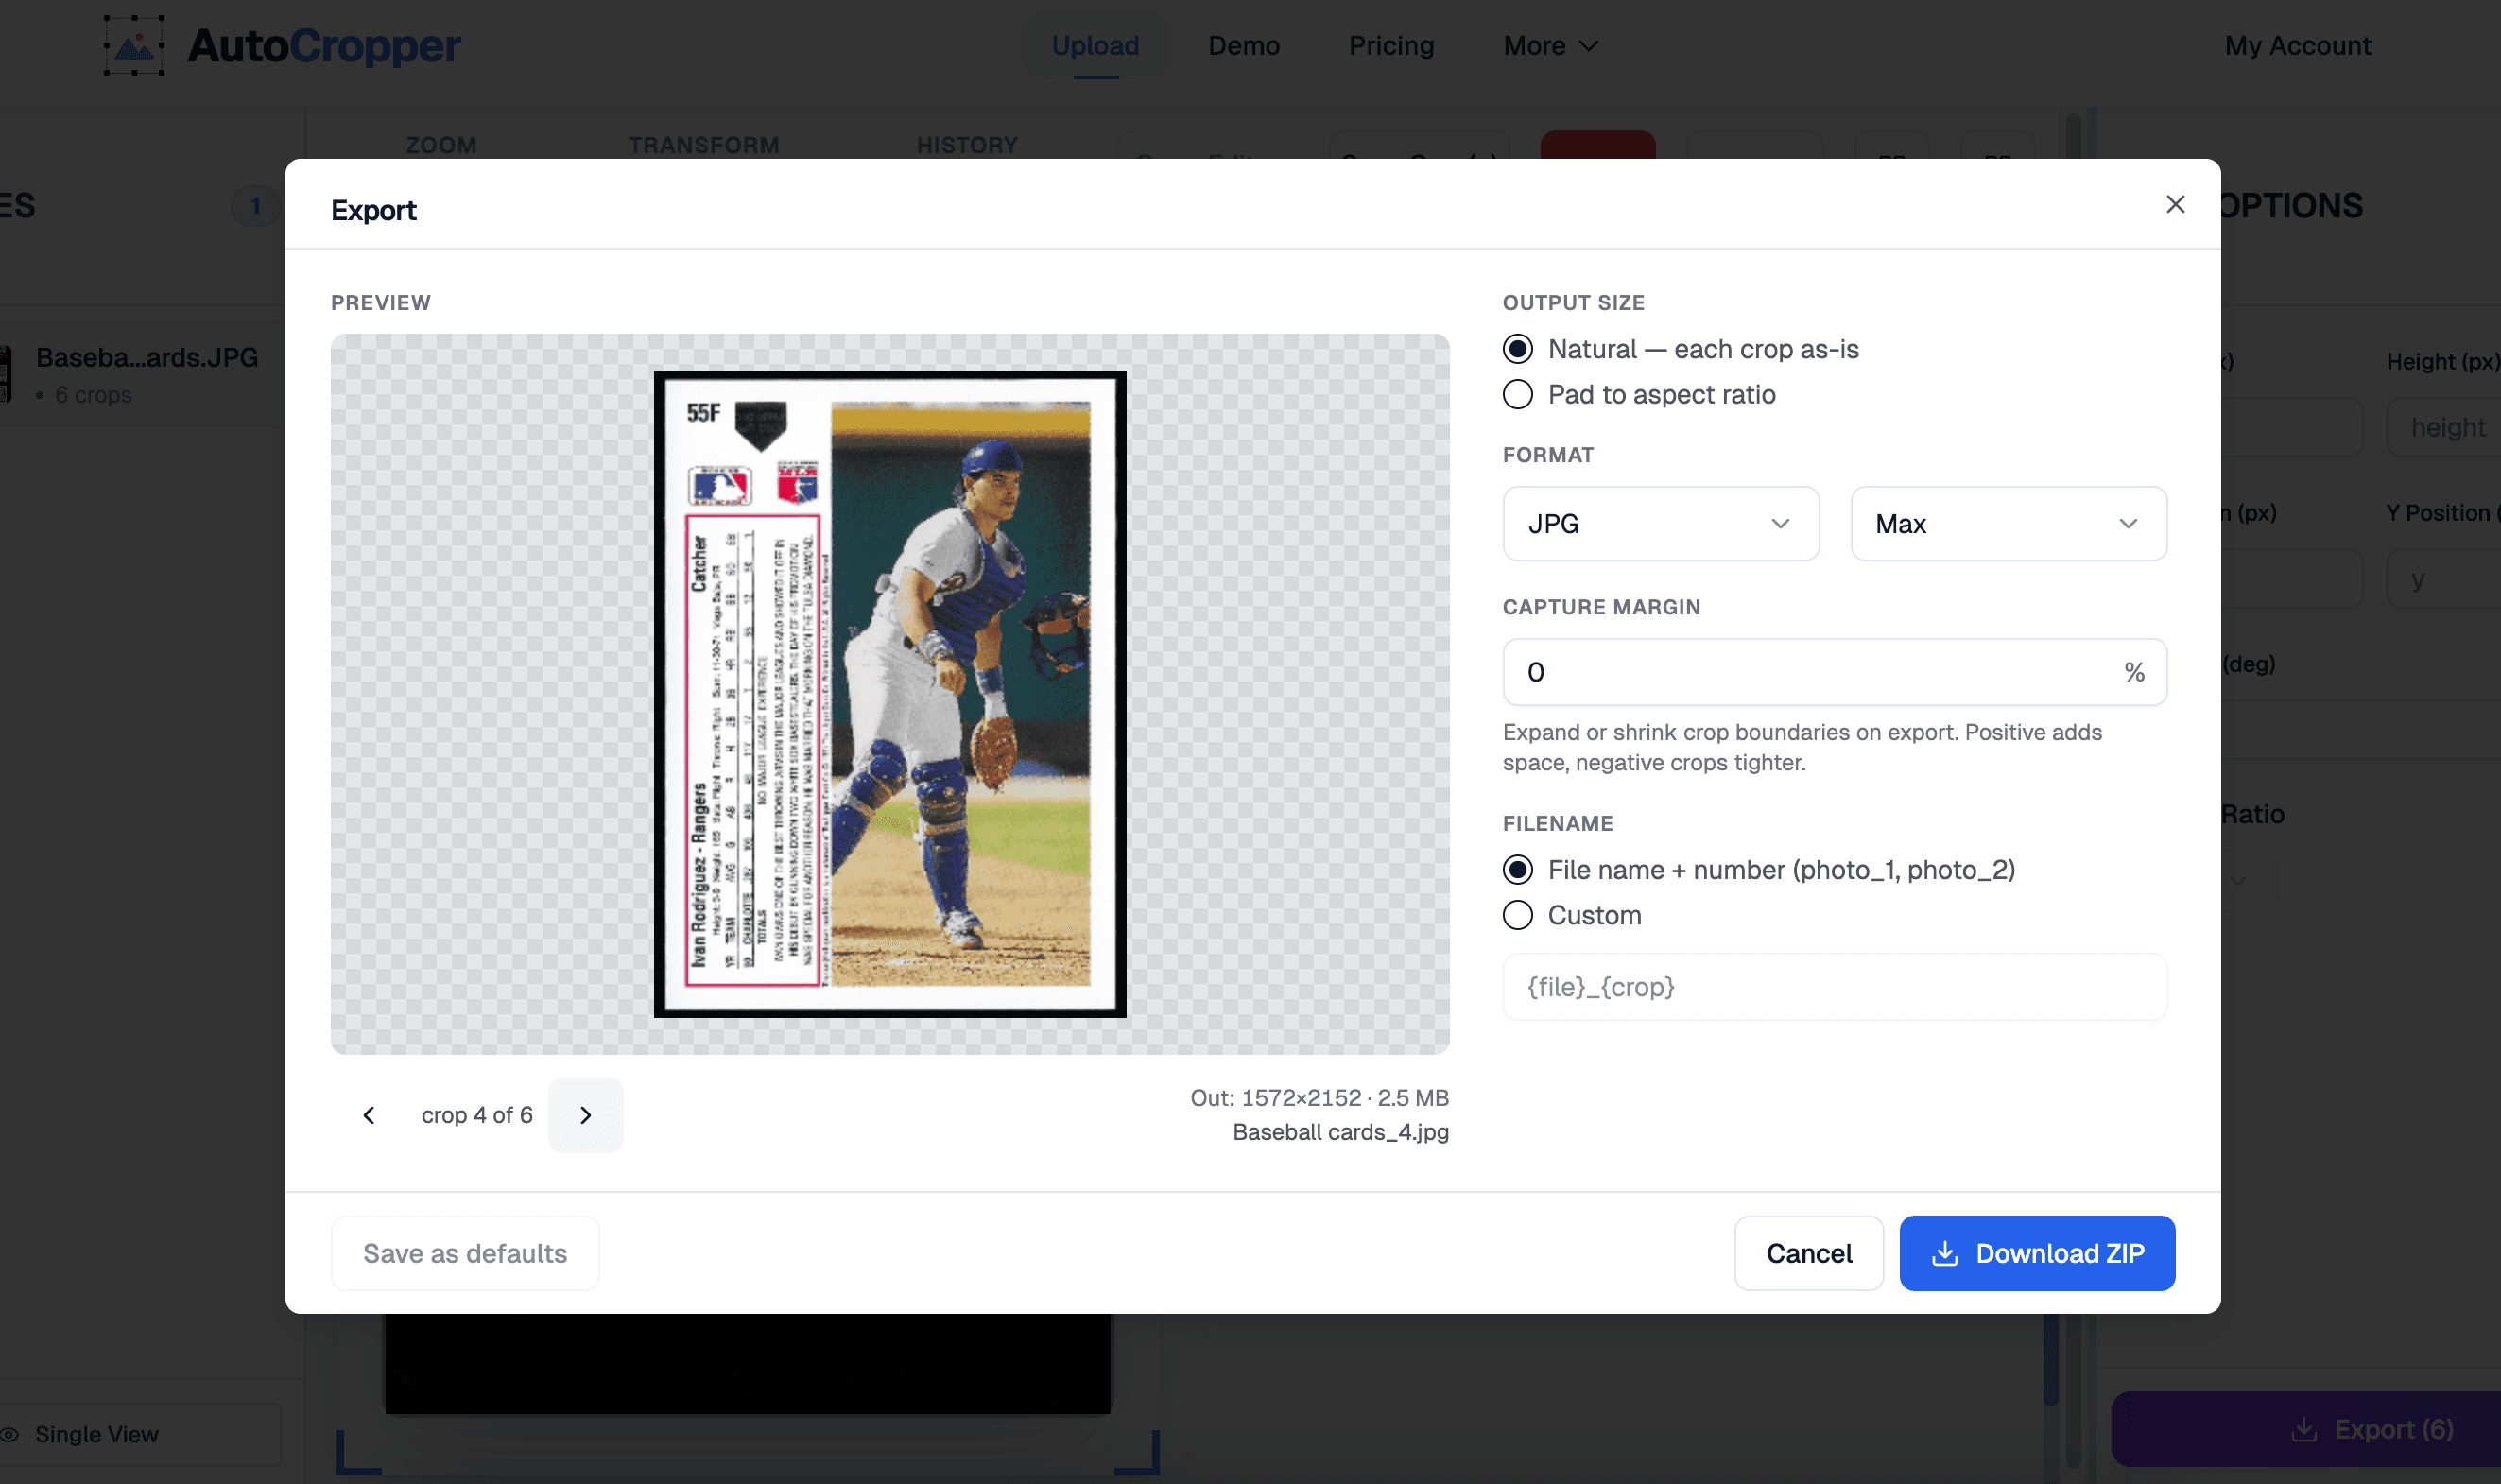
The preview renders the currently-selected crop exactly as it'll appear in the exported file. It updates live as you change options on the right, so you get immediate visual feedback before downloading anything.
A few things to know about it:
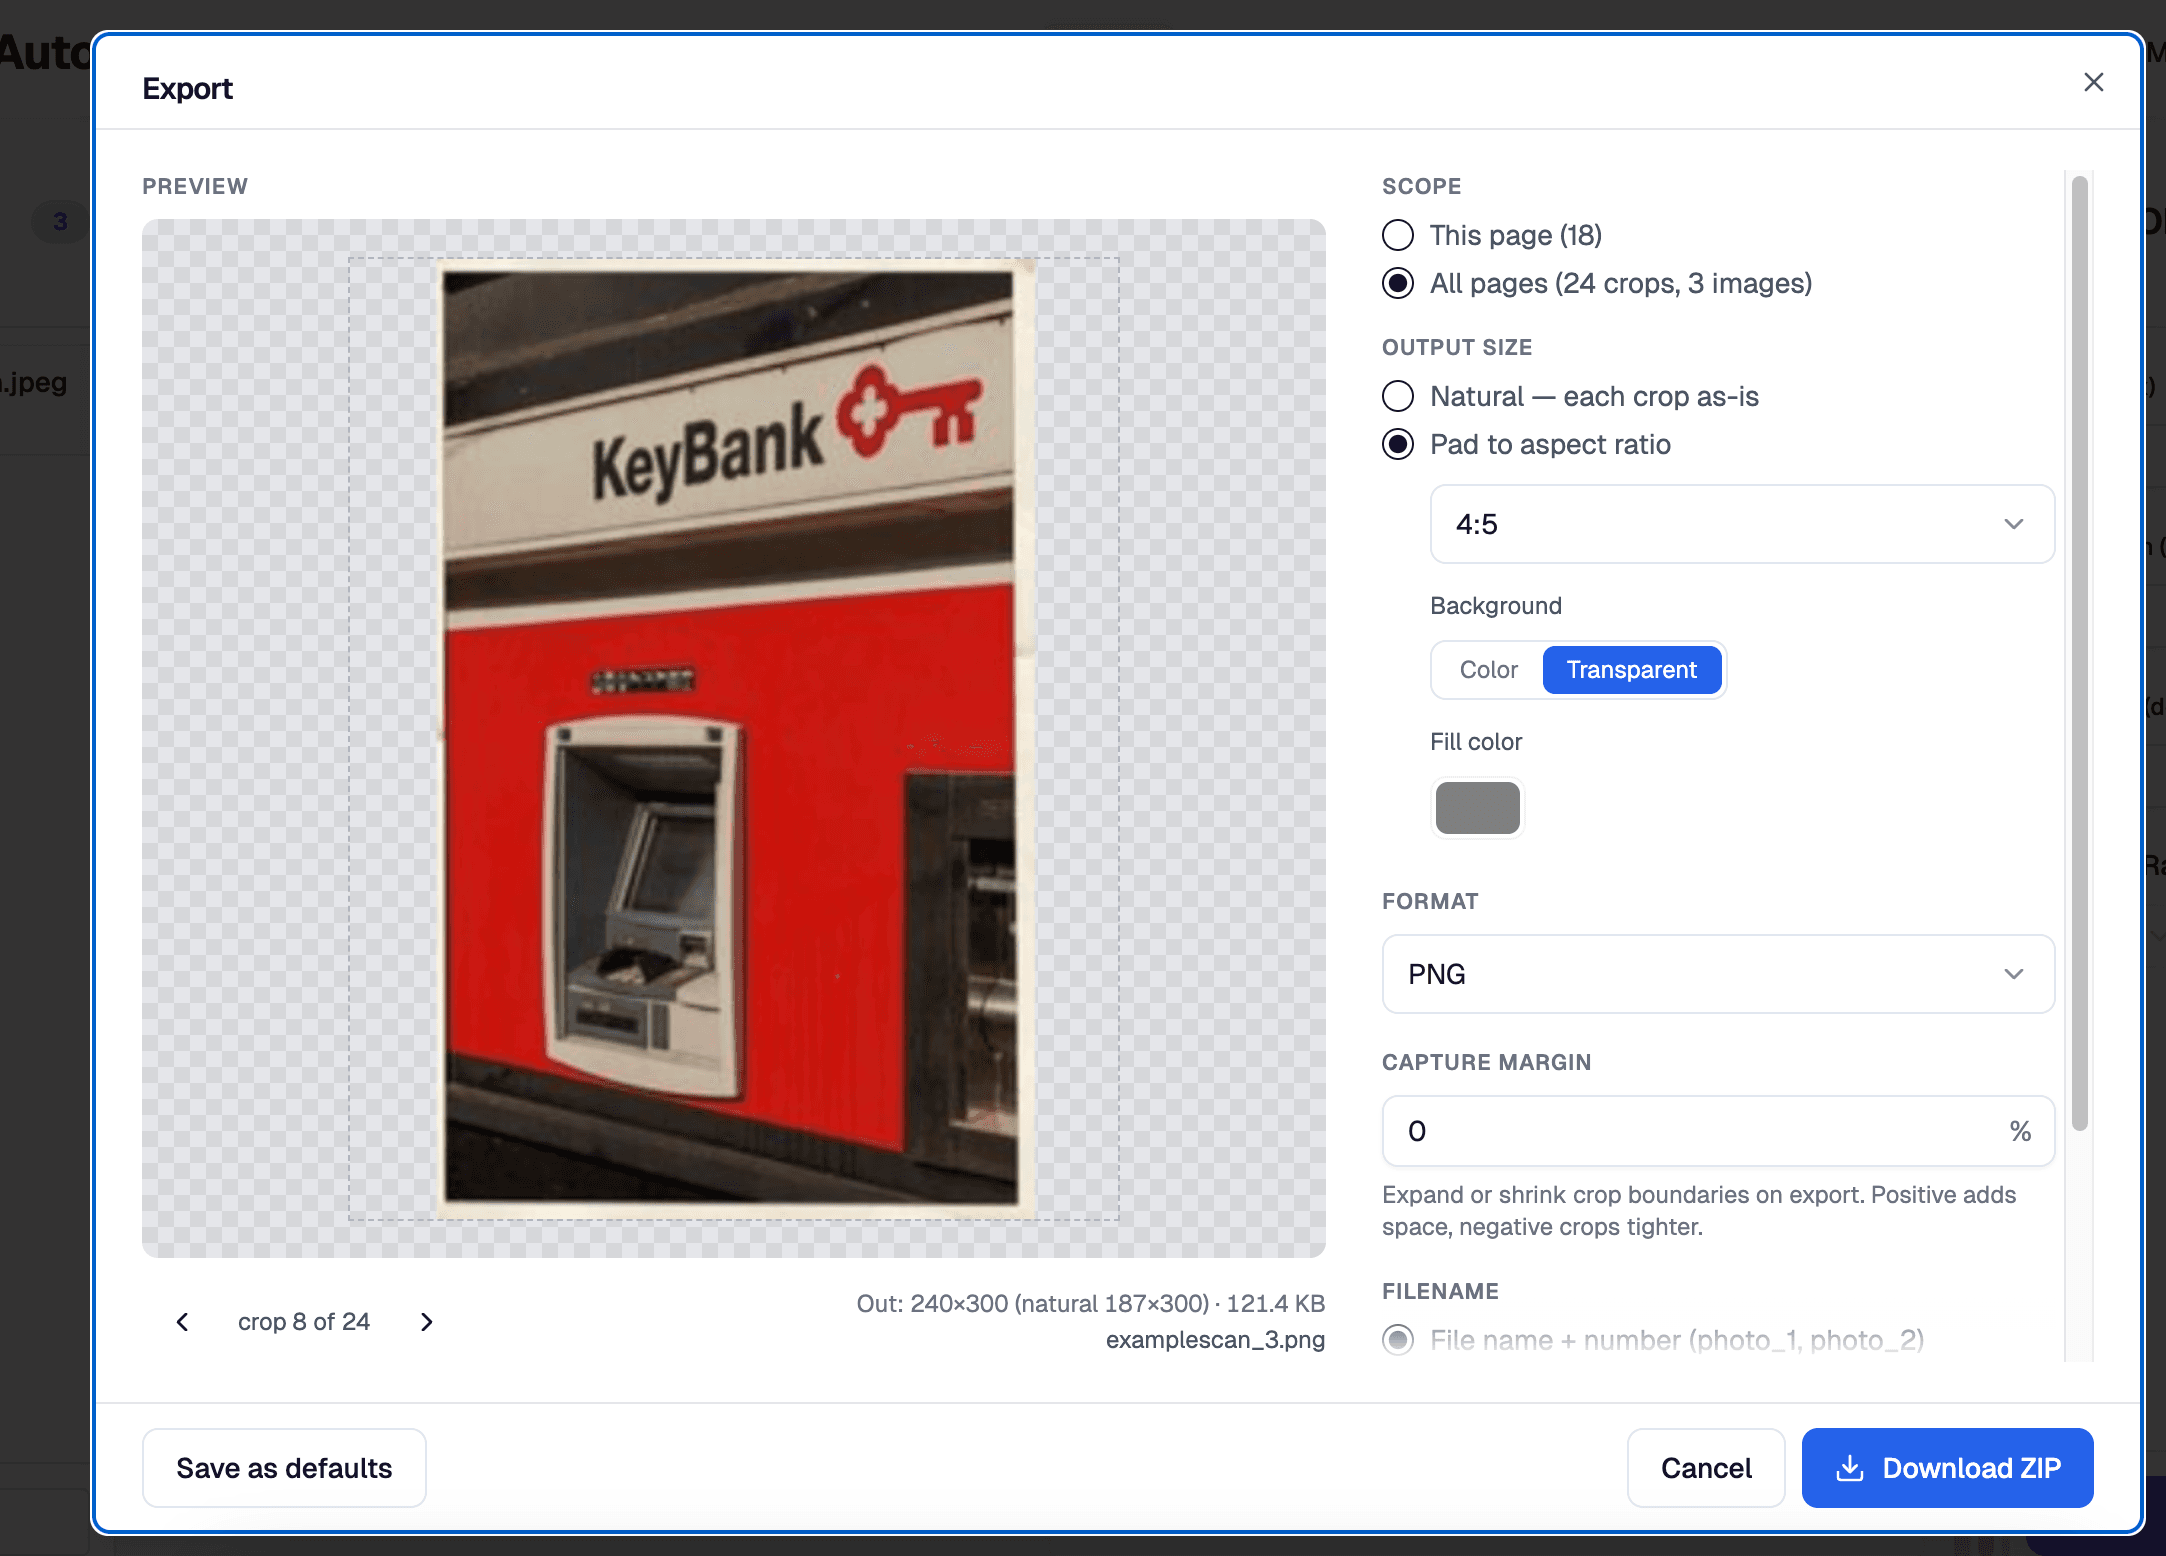
The "Out: W×H (natural W×H)" caption beneath the preview shows the final pixel dimensions of the exported file alongside the crop's untouched natural dimensions. Useful when you're targeting a specific size like 1080×1080 for Instagram.
Arrow keys (or the on-screen chevrons) cycle through every crop in scope, in the same top-to-bottom, left-to-right order used everywhere else. Before downloading a big batch, preview the first and last crop to spot-check your settings.
The checkerboard background is the standard image-editor convention for "transparent canvas." Colored backgrounds render opaquely over it. Transparent PNG output lets the checkerboard show through, which is how you visually confirm transparency before exporting.
Scope: this page vs. all pages
The Scope control determines what gets included. This page is just the currently-selected scan. All pages is every crop across every uploaded scan. Each option shows a live count (e.g. "All pages — 47 crops") so you know exactly what you're about to download.
If you've only uploaded one scan, the control is hidden. Nothing to choose between.
Output size and aspect ratio padding
Output size sets the final dimensions of each exported file. Two modes:
Natural exports each crop at its native pixel dimensions. No padding, no transformation. This is the default, and it's what most workflows want.
Pad to aspect ratio pads the crop out to a target ratio. The photo content is centered, and the surrounding canvas gets filled with either a solid color or transparency (see the next section). Built-in ratios:
3:4 — standard portrait photo
5:7 — trading card, photographic print
4:5 — Instagram portrait
1:1 — square (Instagram, profile pictures, stickers)
Padding never stretches or crops the photo. The original sits centered on a larger canvas and you control what fills the rest.
Adding custom aspect ratios
If your target ratio isn't in the built-in list, click Add custom ratio. The input accepts three formats:
W:H(e.g.16:9)W/H(e.g.16/9)WxH(e.g.5x7)
Sides must be positive integers. Saved ratios persist across sessions in your browser and are shared with the aspect-ratio picker in the right sidebar, so define 5:7 once and you'll have it everywhere. The saved list caps at 20. If you need a one-off ratio, save it, use it, delete it later.
Background: color fill and transparent PNG export
Background controls what fills the padded area around each crop. It only does anything when Pad to aspect ratio is on. In Natural mode there's nothing to pad, so the control is inert.
Color fills the padding with a solid hex color you pick from the swatch. Use this for matte effects, branded social posts, or anywhere you want a deliberate backdrop behind each photo.
Transparent writes the padded area as real alpha=0 pixels. A proper transparent PNG you can drop into any layered design tool with the photo already isolated on its canvas. This is the option I added specifically for scrapbook digitizers and social-media template builders, who would otherwise have to cut the background out by hand.
A few notes:
Transparent works on PNG only. JPEG and JPG have no alpha channel. If you turn on Transparent while the format is set to JPG or JPEG, AutoCropper falls back to the color fill so you never get a confusingly-flattened "transparent" JPEG. Switch the format to PNG for real transparency.
The dashed outline around the preview in transparent mode marks the file's actual pixel bounds. Without it, a fully-transparent border would be invisible against the checkerboard.
The checkerboard is never written to the file. It's a visual indicator only.
File format and JPEG quality
Format sets the file type. Three options:
JPG and JPEG are identical encoding, different extension. Pick whichever your downstream tool prefers.
PNG is lossless and supports transparency. Required for transparent backgrounds.
For JPG and JPEG, a Quality dropdown appears with four levels:
Max for print or archival (often overkill, redundant detail)
High is visually-lossless at typical viewing sizes (recommended)
Medium is a solid web default
Standard for thumbnails or quick previews
PNG is always lossless, so the Quality dropdown disappears when PNG is selected.
Capture margin
Capture margin expands or shrinks each crop's boundaries at export time without changing the crop on the canvas. Positive values widen the crop (adding breathing room), negative values tighten it.
This is the fix when a whole batch of auto-detected crops came in slightly too tight or slightly too loose and you don't want to redraw them one by one. I personally keep this at +2% or +3% when working with older photos that have white borders. The detector tends to clip those corners a bit.
For per-crop adjustments instead of batch ones, use the resize handles in the Advanced Editor.
Filename templates
The Filename control determines how each exported file is named. Two modes.
File name + number names each export parent_N.ext. parent is the source scan's filename without the extension, N is the crop's visual position on that scan (top to bottom, left to right). So vacation_1.jpg, vacation_2.jpg, vacation_3.jpg. Use this when you want predictable, human-readable names that match how the photos read on the page.
Custom template accepts a template string built from two tokens:
{file}is the parent scan's filename without extension.{crop}is the last four characters of the crop's internal ID. Stable per crop, but not meaningful on its own.
So {file}_{crop} produces something like vacation_a1b2.jpg. Custom templates are mainly useful when you're merging exports from several sessions into one folder and need globally-unique filenames.
Save as defaults
Every option in the builder can be saved to your browser's local storage with the Save as defaults button. The next time you open the modal, everything is pre-filled.
This is mostly for repeat workflows. If you always export transparent PNGs at 4:5, or always pad trading cards to 5:7 with a white background, set the combination once and stop re-setting it.
Defaults live in your current browser. They don't sync across devices, and clearing site data resets them.
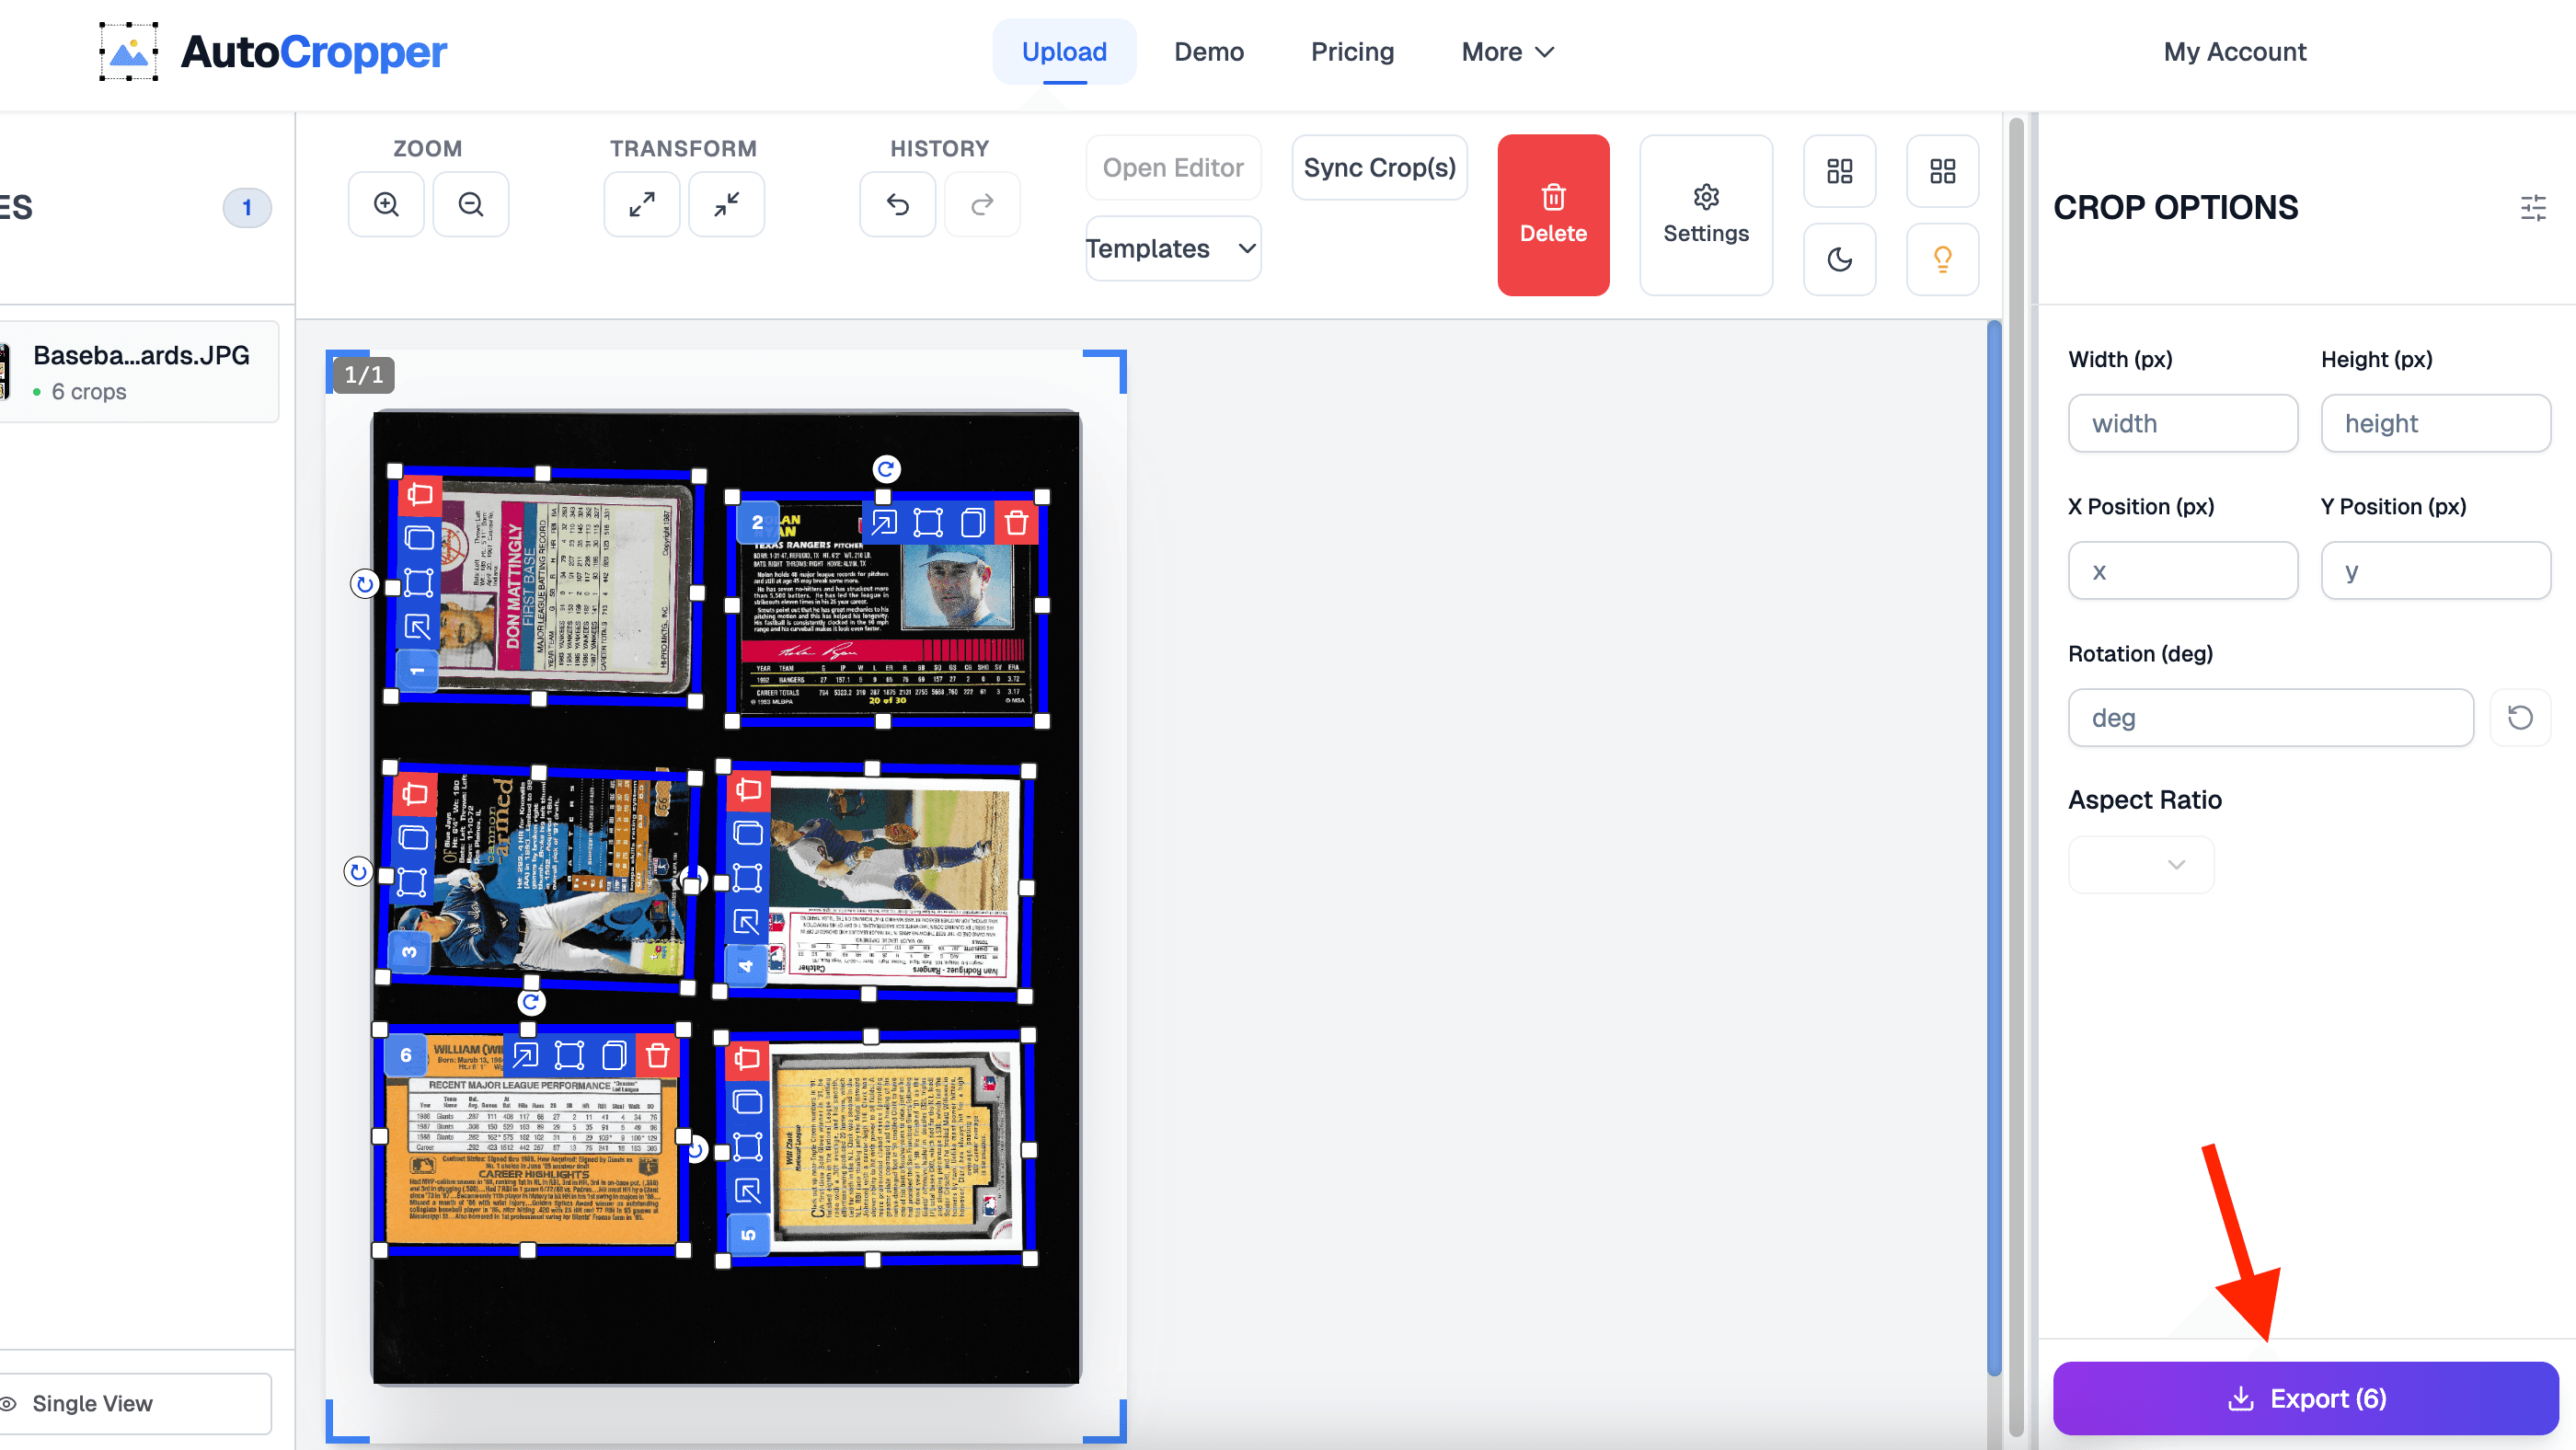
Downloading the ZIP
The Download ZIP button at the bottom bulk-exports every crop in scope as an individual file, packaged in a single ZIP. Each file is named per your filename setting and formatted per the rest of your settings (format, quality, padding, background, capture margin). The ZIP downloads through your browser's normal download flow.
Large batches (hundreds of crops at PNG with transparency) can take a few seconds. The button shows progress while the ZIP is being built.
Common workflows
A few real workflows the builder is set up for:
Scrapbook to Instagram. Pad to 4:5, pick a background color that matches your feed (white is fine), and Save as defaults. Every future scrapbook page exports as a feed-ready batch with each photo centered.
Transparent PNGs for digital scrapbooking. Set format to PNG, pad to whatever ratio your composition uses (1:1 is a common starting point), background to Transparent. Each crop arrives layer-ready, photo already isolated on a transparent canvas.
Trading cards. Pad to 5:7. Cards from different scans come in at slightly different sizes and the padding gives you a consistent canvas. If your cards have white borders, bump Capture margin to +2%.
Print-prep with mattes. Pad to your print shop's preferred ratio (usually 4:5 or 5:7), background to a Color matte (white, off-white, or black), format JPG at Max quality. Each photo is upload-ready with the matte baked in.
Family archives. Stick with File name + number. You get grandma_kitchen_1990_1.jpg, grandma_kitchen_1990_2.jpg, and so on. Sortable, readable, easy to search across hundreds of pages.
FAQ
Does AutoCropper preserve EXIF data on export?
Yes, when the source has EXIF and the Inherit EXIF setting is on. EXIF behavior is configured per-crop in the Advanced Editor; the Export builder respects whatever each crop is set to.
Why are my padded JPEGs not transparent?
JPEG has no alpha channel, so it can't represent transparent pixels. If you pick Transparent as the background but leave the format on JPG or JPEG, AutoCropper falls back to the color fill so you don't end up with a silently-flattened result. To get real transparency, switch the format to PNG.
Can I save my favorite aspect ratios?
Yep. Add custom ratio in the Output size section. The list persists across sessions, is shared with the sidebar's aspect-ratio picker, and holds up to 20 entries.
What's the difference between Natural and Pad to aspect ratio?
Natural exports each crop at its native pixel dimensions, no padding, no resizing. Pad to aspect ratio keeps the original photo content untouched but adds canvas around it so the file matches a target ratio (3:4, 5:7, 4:5, 1:1, or a custom). The photo is never stretched or cropped; only the canvas changes.
Does the capture margin change my crops on the canvas?
No. Capture margin only applies at export time. Your crops on the scan stay exactly where you placed them. This is on purpose. It lets you batch-adjust an entire export without committing the change back to your editing session.
How are filenames numbered?
When the mode is File name + number, the number is the crop's visual position on its source scan (top to bottom, left to right). If you move or delete crops, the numbers update automatically.
Do my export defaults sync across devices?
No. Defaults live in your current browser's local storage. Clearing site data or switching browsers resets them.
Can I export only some of the crops on a page?
Not directly from the builder. Scope is the current page or all pages, nothing in between. To export a subset, delete or hide the crops you don't want before opening the builder, or just export everything and discard what you don't need from the ZIP.
For more on the detection and editing flow that produces these crops, see Detection Methods. For app-wide preferences that interact with export, see App Settings.